Introduction
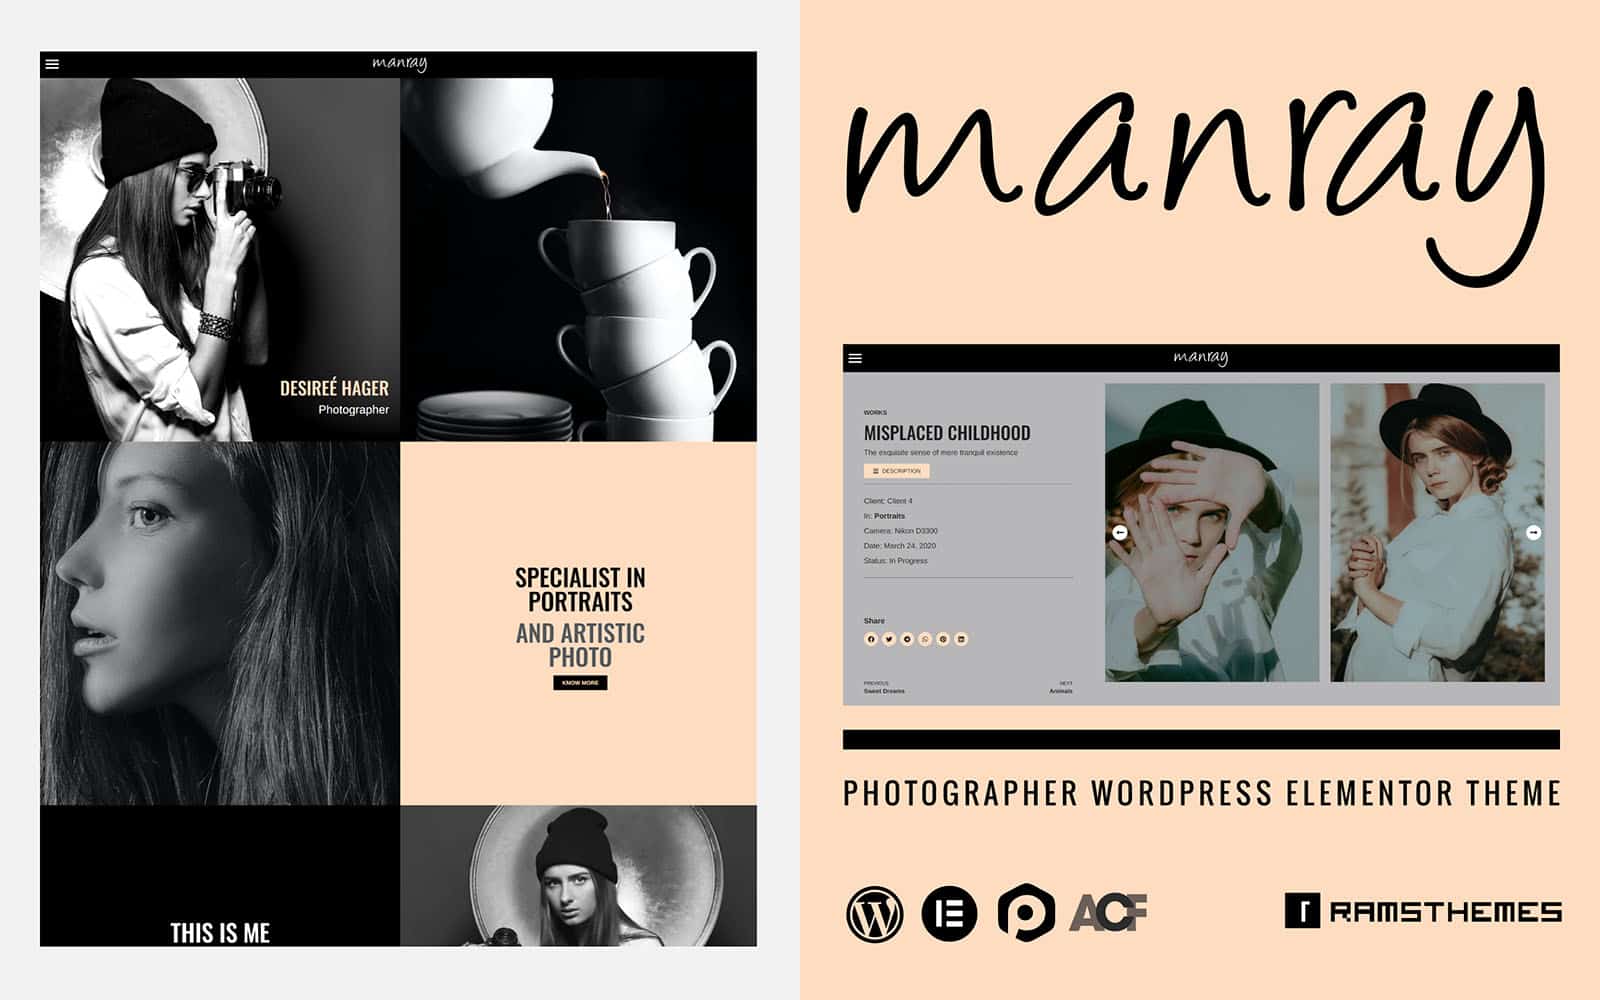
Welcome to MANRAY, a new WordPress Elementor Theme designed for Photographers with a nice and modern UI, easy and intuitive to use for professionals. This new version is built with the base of Joints, and includes Elementor Pro and Power Pack, which brings more widget modules ready to use according to the taste and need of the consumer. We hope this new theme meets your expectations in terms of design and customization.
Requeriments
You need to make sure that your web host has the minimum WordPress and Elementor requirements to run themes-based sites:
- WordPress installation
- PHP 7.3+
- Basic Knowledge of WordPress (create posts, upload images, install plugins, fill fields, etc.) and Elementor Page Builder (Drag and drop widgets, customize styles and Options)
- MySQL version 5.6 and above
- The mod_rewrite Apache module
- The iconv extension with UTF-8 encoding
- HTTPS support
- max_execution_time more than 180, we recommend 300
- memory_limit at least 256M to run plugins without issues and avoid the Elementor “loading loop” bug
Product Contents
- Theme files
- .WPRESS file for demo import
- Documentation
Common Theme Installation
If you don’t want to import the demo file, the ideal is to install theme from a fresh WP installation, to customize the theme options and start uploading the contents. Use this method only if you have advanced knowledge to create templates from scratch with Elementor.
When you purchase the theme, the downloaded zip file contains Theme files (it contains the zipped installable WordPress theme file)
Extract the downloaded zip, and select the zip file manraywp.zip and manraywp-child.zip. Now, you have two ways for installing the theme:
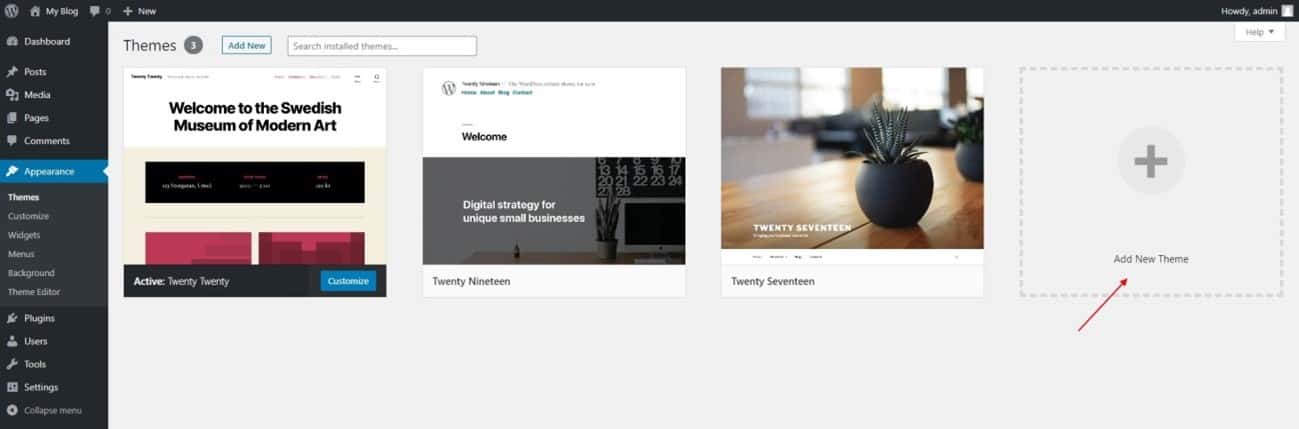
1 – Install theme via WordPress Dashboard
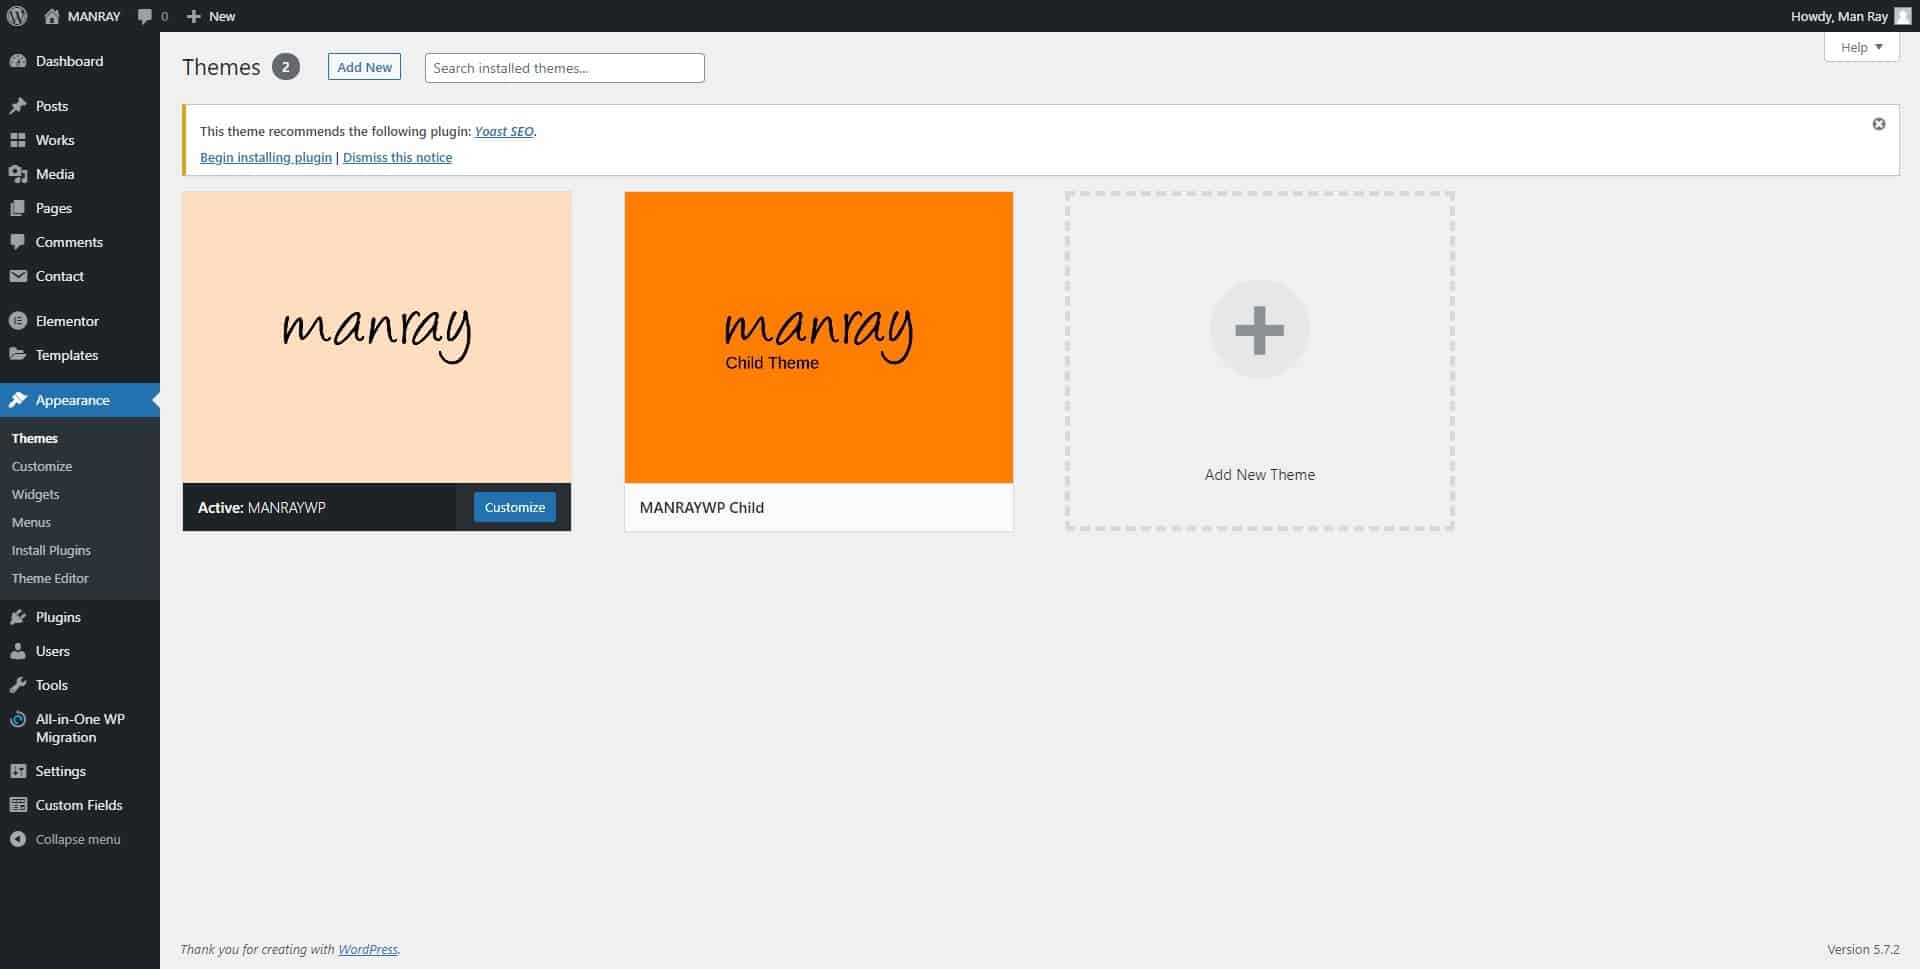
Go to Appearance > Themes section and click Add New
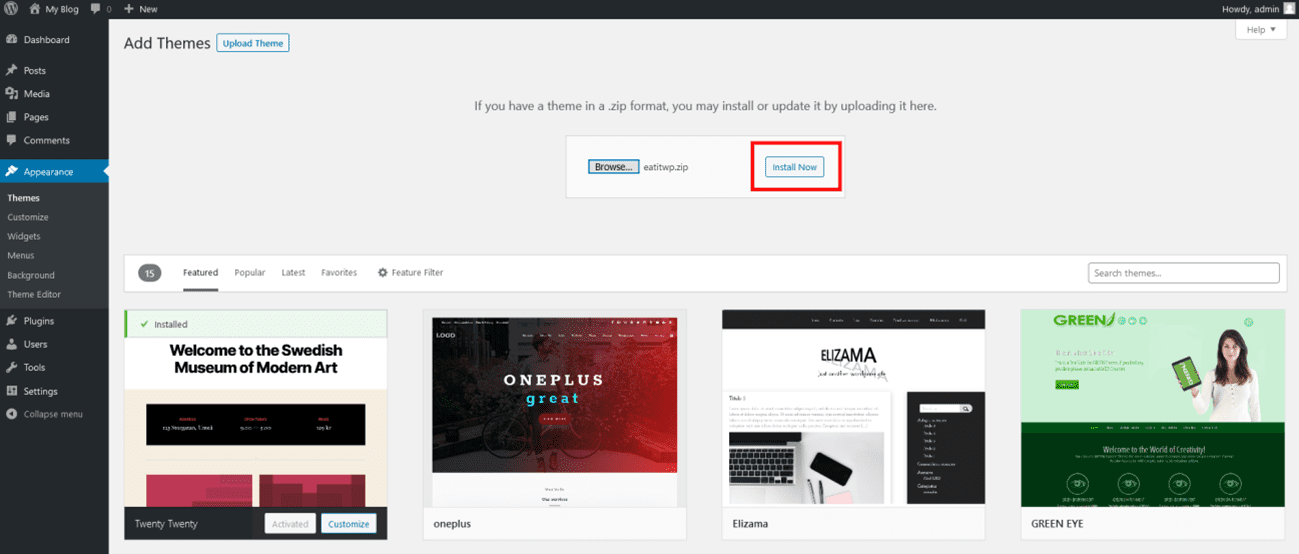
In the next screen click the Upload Theme button

Click the Choose File button, select the zip file and click Install Now.
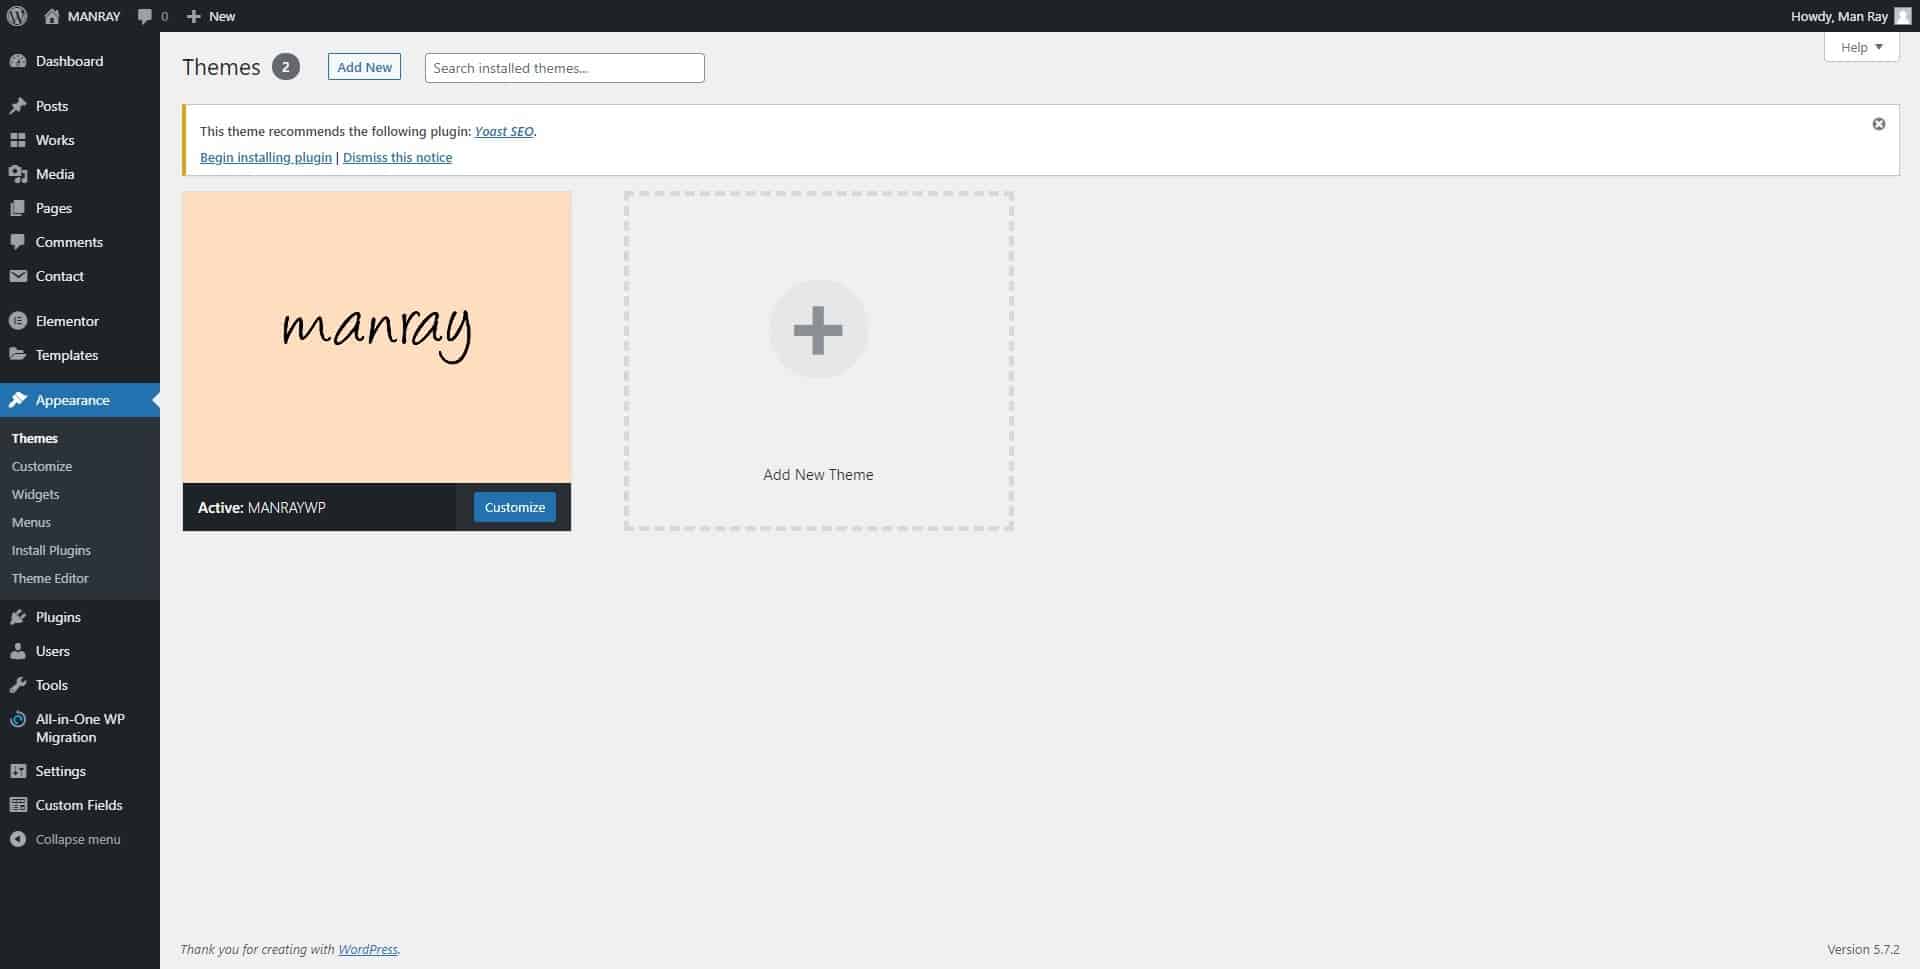
You can now activate the Parent Theme first, and next the Child Theme.
Child Theme
A child theme is a theme that has all the functionality and styling of another theme; referred to as the parent theme. Child themes are the recommended way of modifying the code of an existing theme, since a child theme preserves all custom code changes and modifications; even after a theme update. If you modify code directly from a parent theme, and then update the parent theme, your changes will be lost.
Although child themes can be a great way to add custom changes, they are most often used to customize core code taken from the parent theme. Because of this, please be aware that customizations of this nature fall outside our scope of support, and we will be unable to assist you with any issues that may arise. The child theme is primarily inserted in the package for developers’ convenience.
Always use a child theme when modifying core code. Child themes can also be used for custom CSS applications, template file modifications, and custom PHP functions and/or hooks. There are two ways to modify a child theme. Bear in mind that using child themes is no guarantee that an update of custom code on the parent theme will not require further maintenance.
If you want to make changes in theme’s templates or functions, we recommend that you install child theme and make changes there. To learn more about the purpose and basis of creation of child theme, visit WordPress Codex on Child Themes section.
Install theme via FTP
Open your FTP program (i.e, FileZilla) to browse the folders of your server, and go to wp-content/themes directory.
Extract the zip file manraywp.zip on your computer, it extracts on the folder “manraywp”, which contains all the Theme files. Put (or drag and drop) this extracted folder in the wp-content/themes folder.
In the WordPress Dashboard, go to Appearance > Themes section. The Theme appears with his featured screenshot and the Child Theme, hover it and click the Activate button.
Build Menu
This menu is used on desktop and responsive view
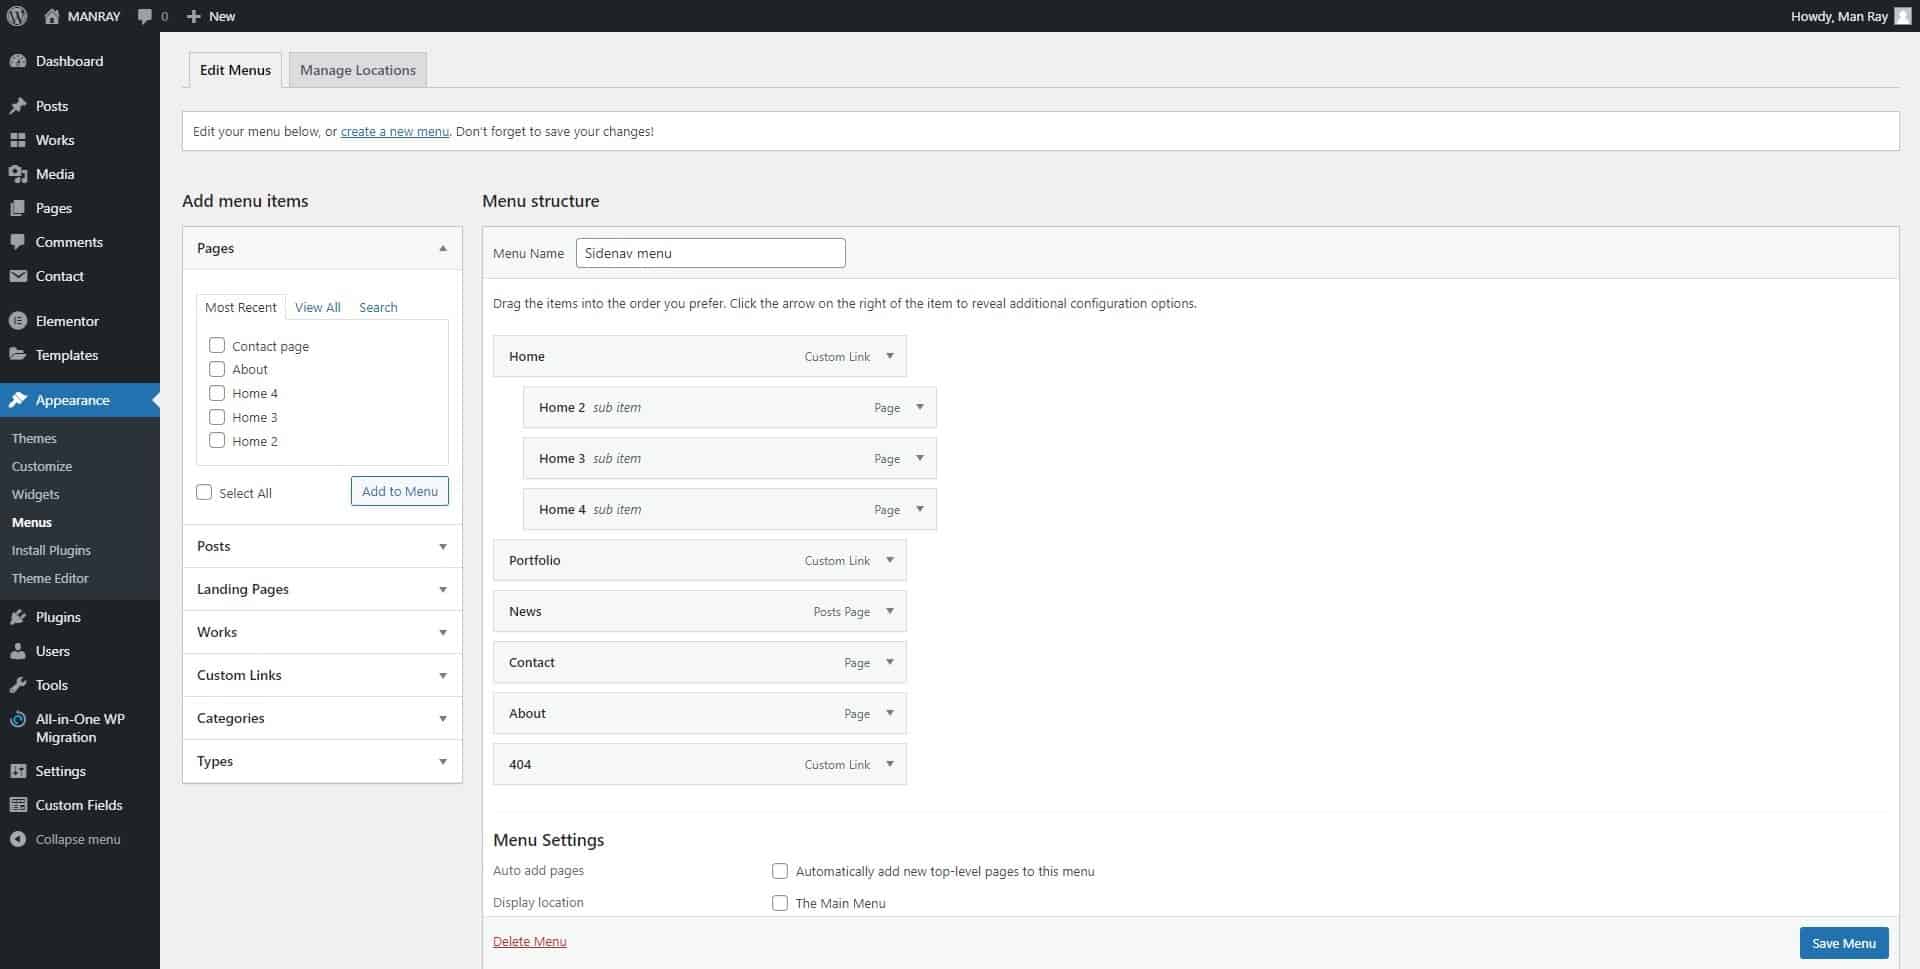
Go to Appareance – Menu in the Dashboard and build the menu dragging the elements you like.
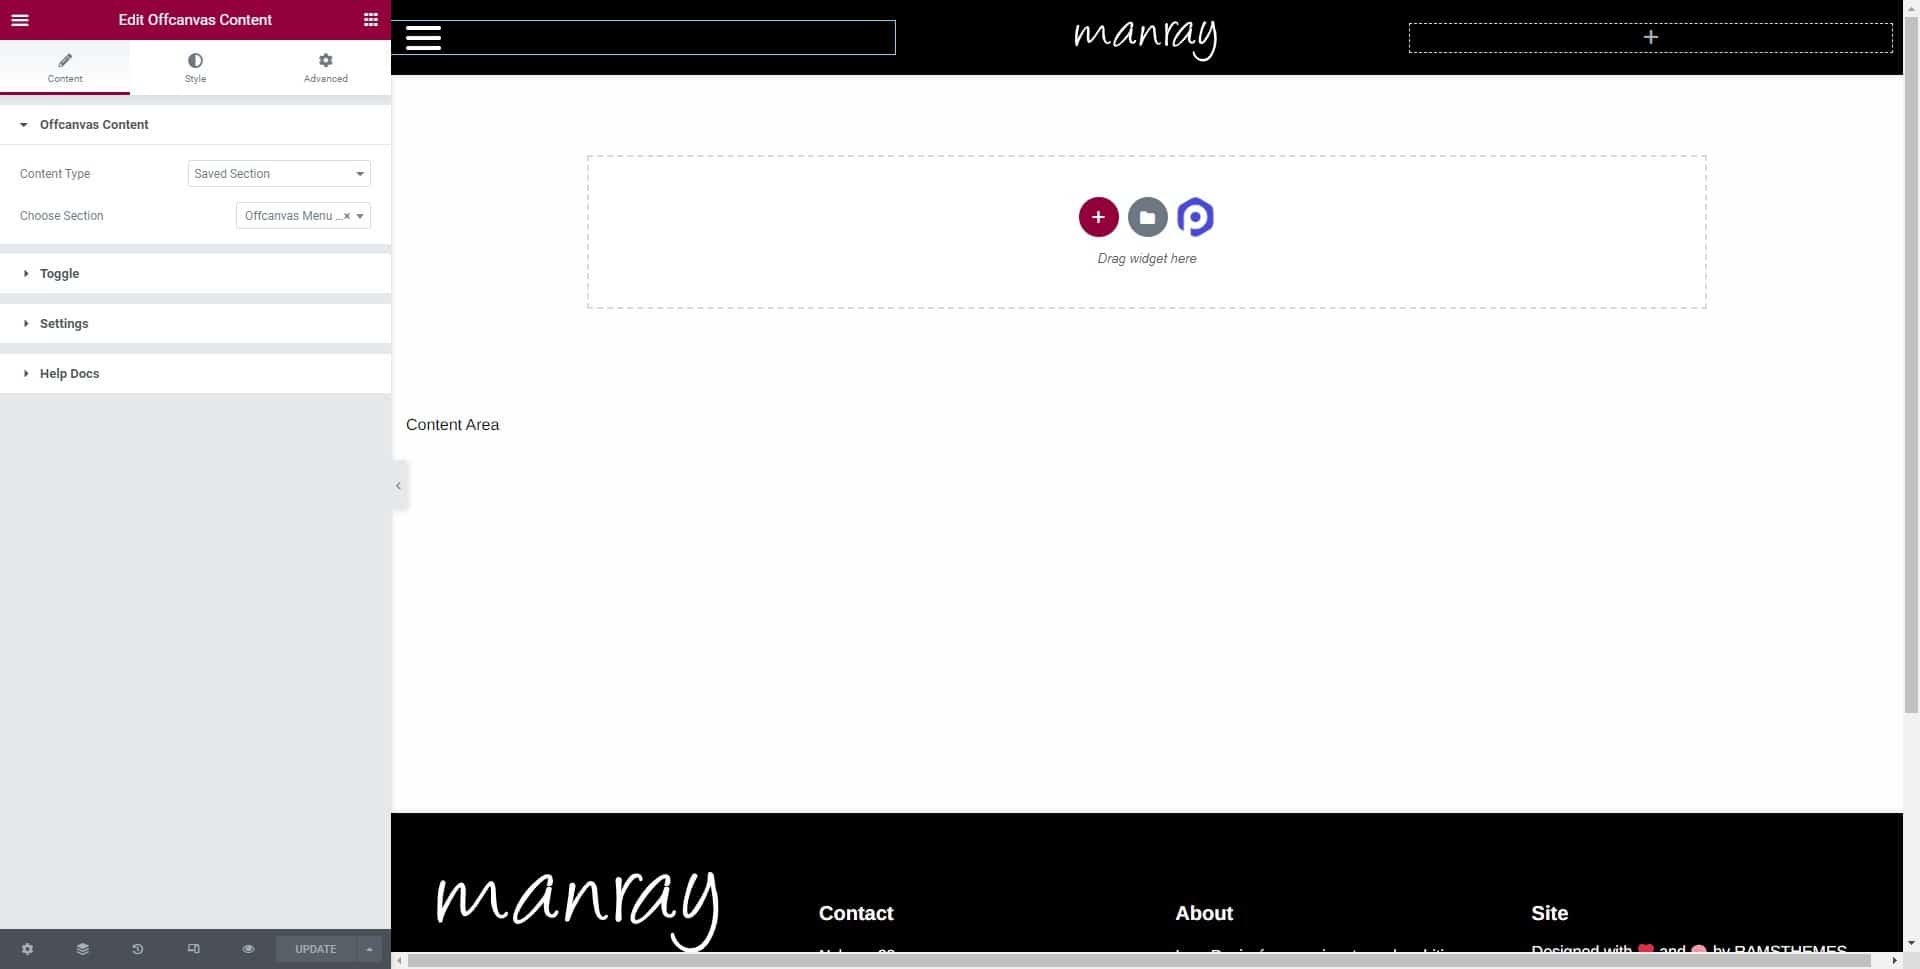
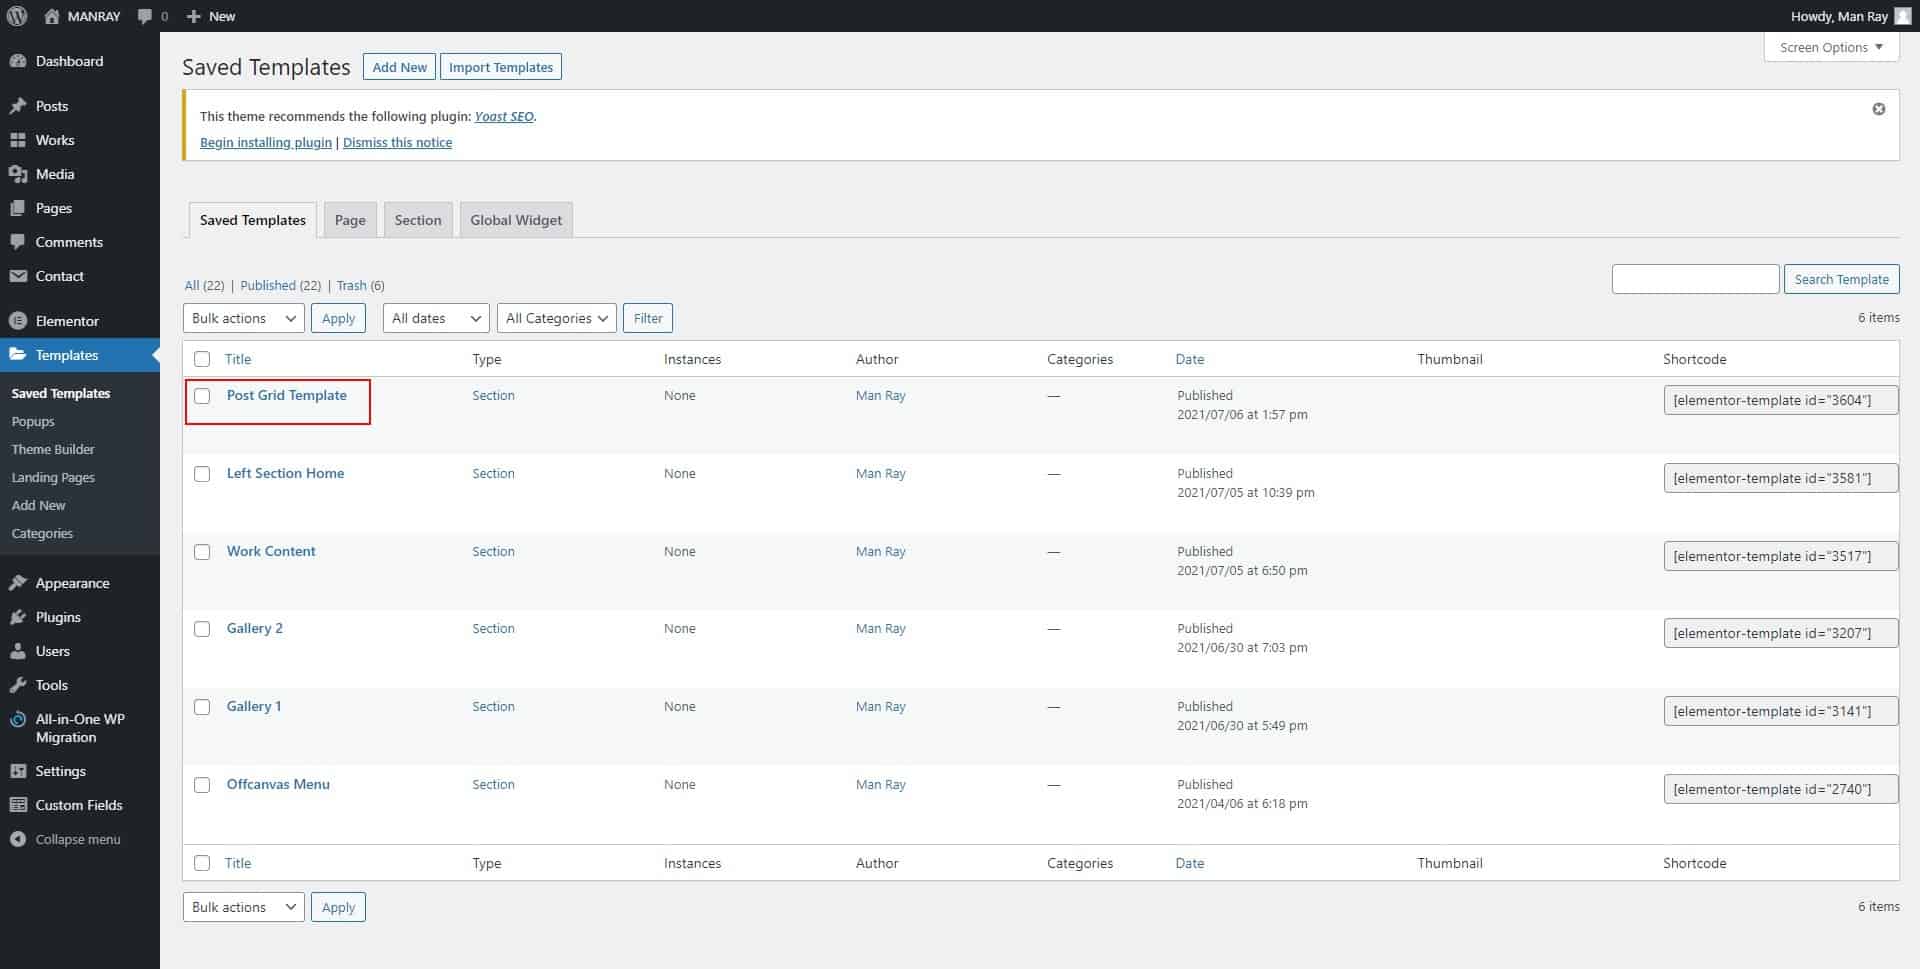
In Elementor Saved Templates go to Offcanvas Menu
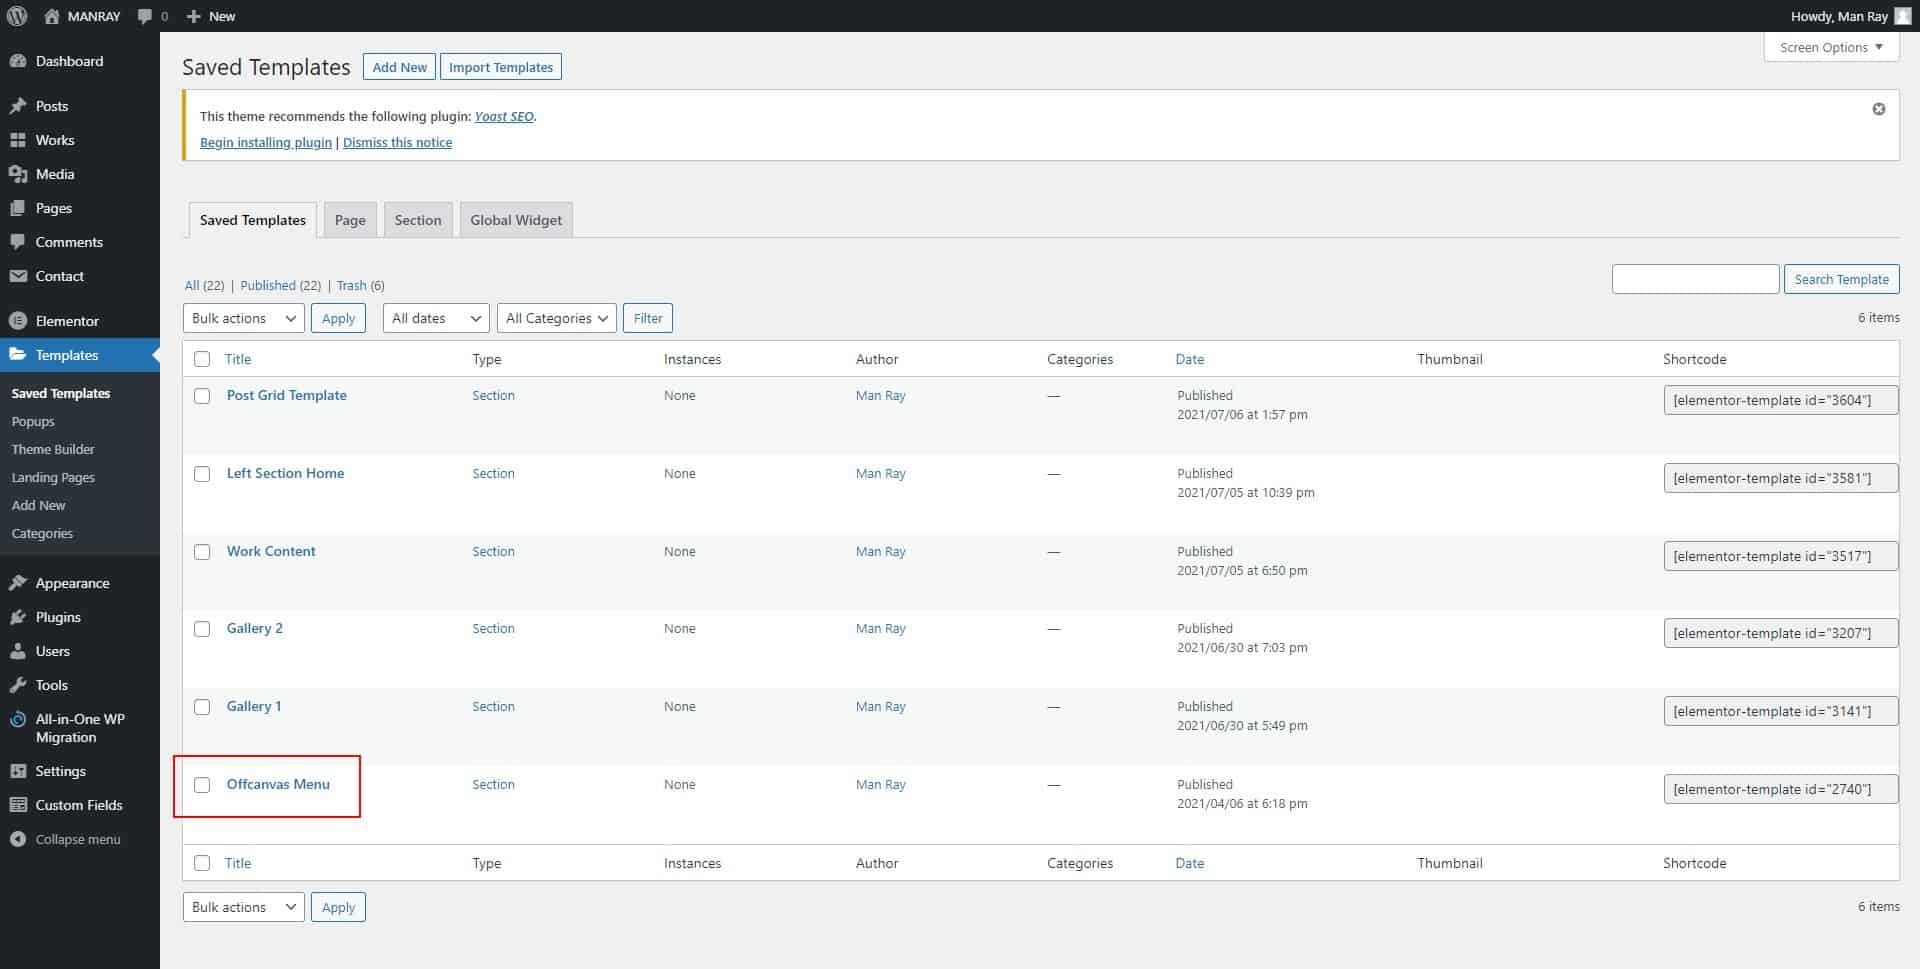
Edit them, and place the Nav Menu Widget.
Then Select “Sidenav Menu” (or the name that you use for the menu builded in previous step) and customize it as you like.
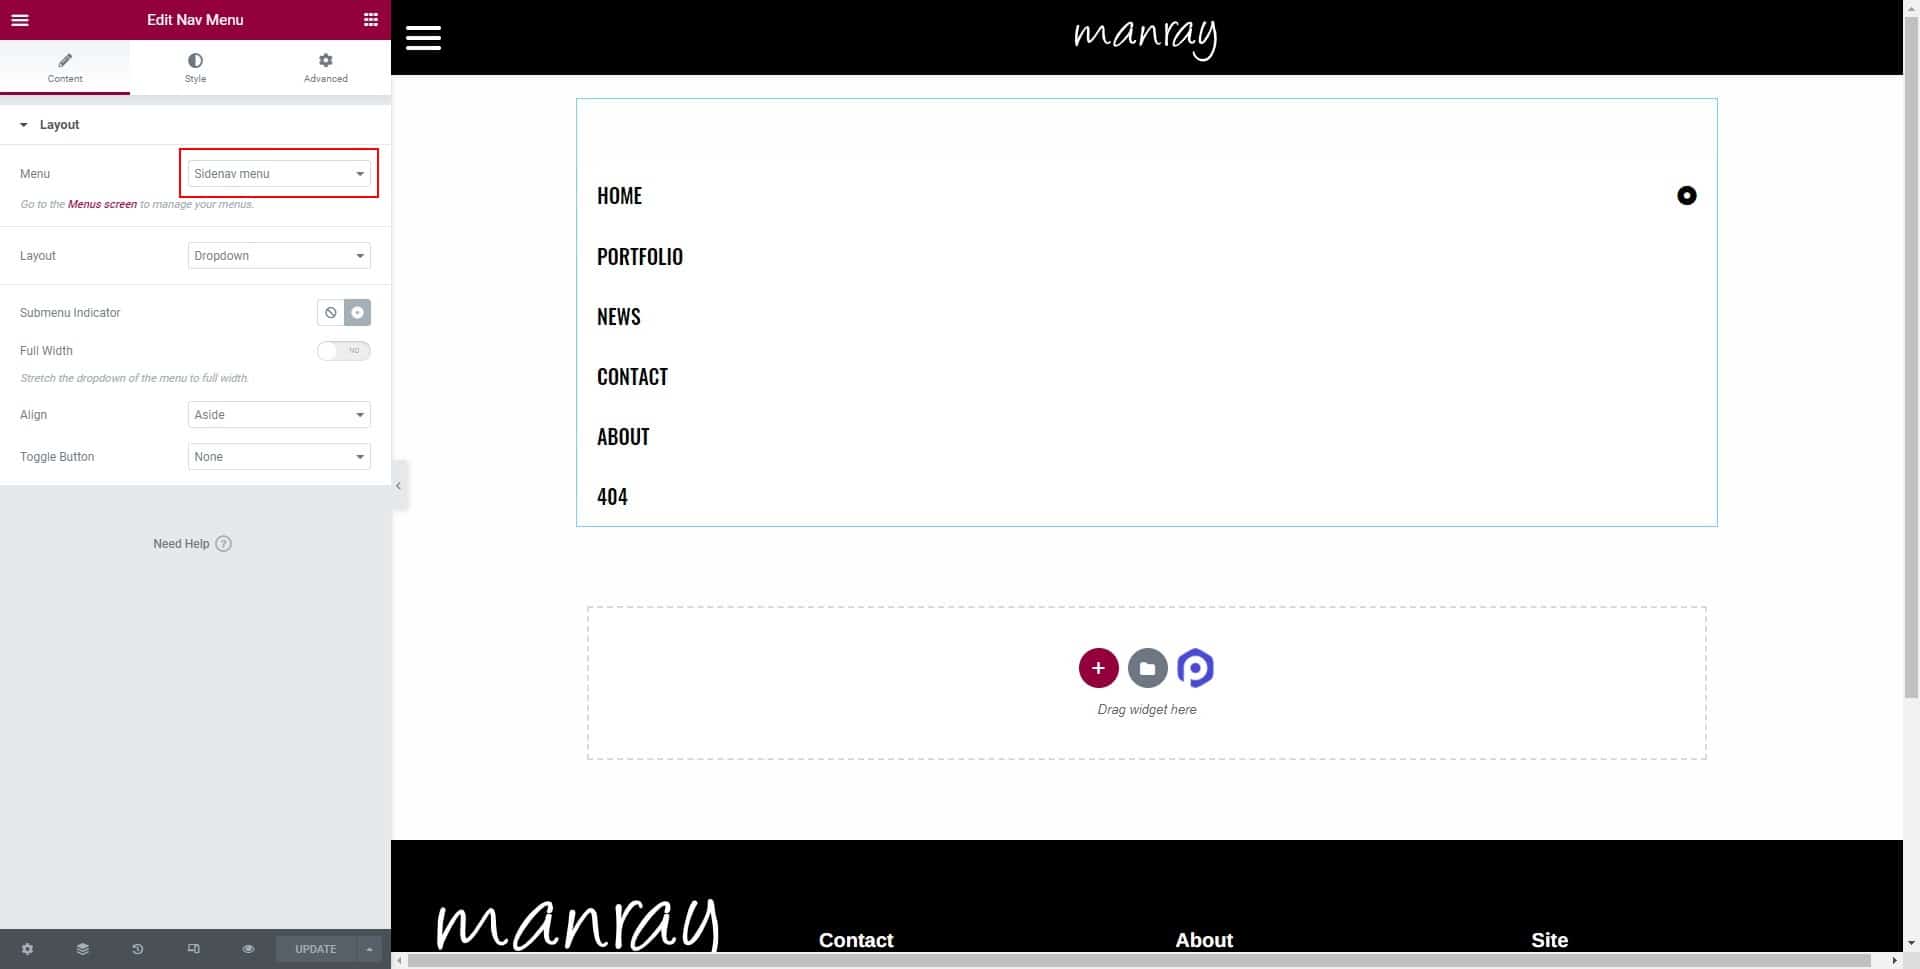
The offcanvas menu:

Examples of building and editing sections with Elementor
When using a predesigned template, you can create your own unique design with the Elementor drag and drop page builder and the extra widgets of Power Pack, increasing the creative options of customizations.
Check the Elementor and Power Pack documentation if you need help with the plugin settings and detailed usage of widgets (style customizations and options).
We describe here the basic sections:
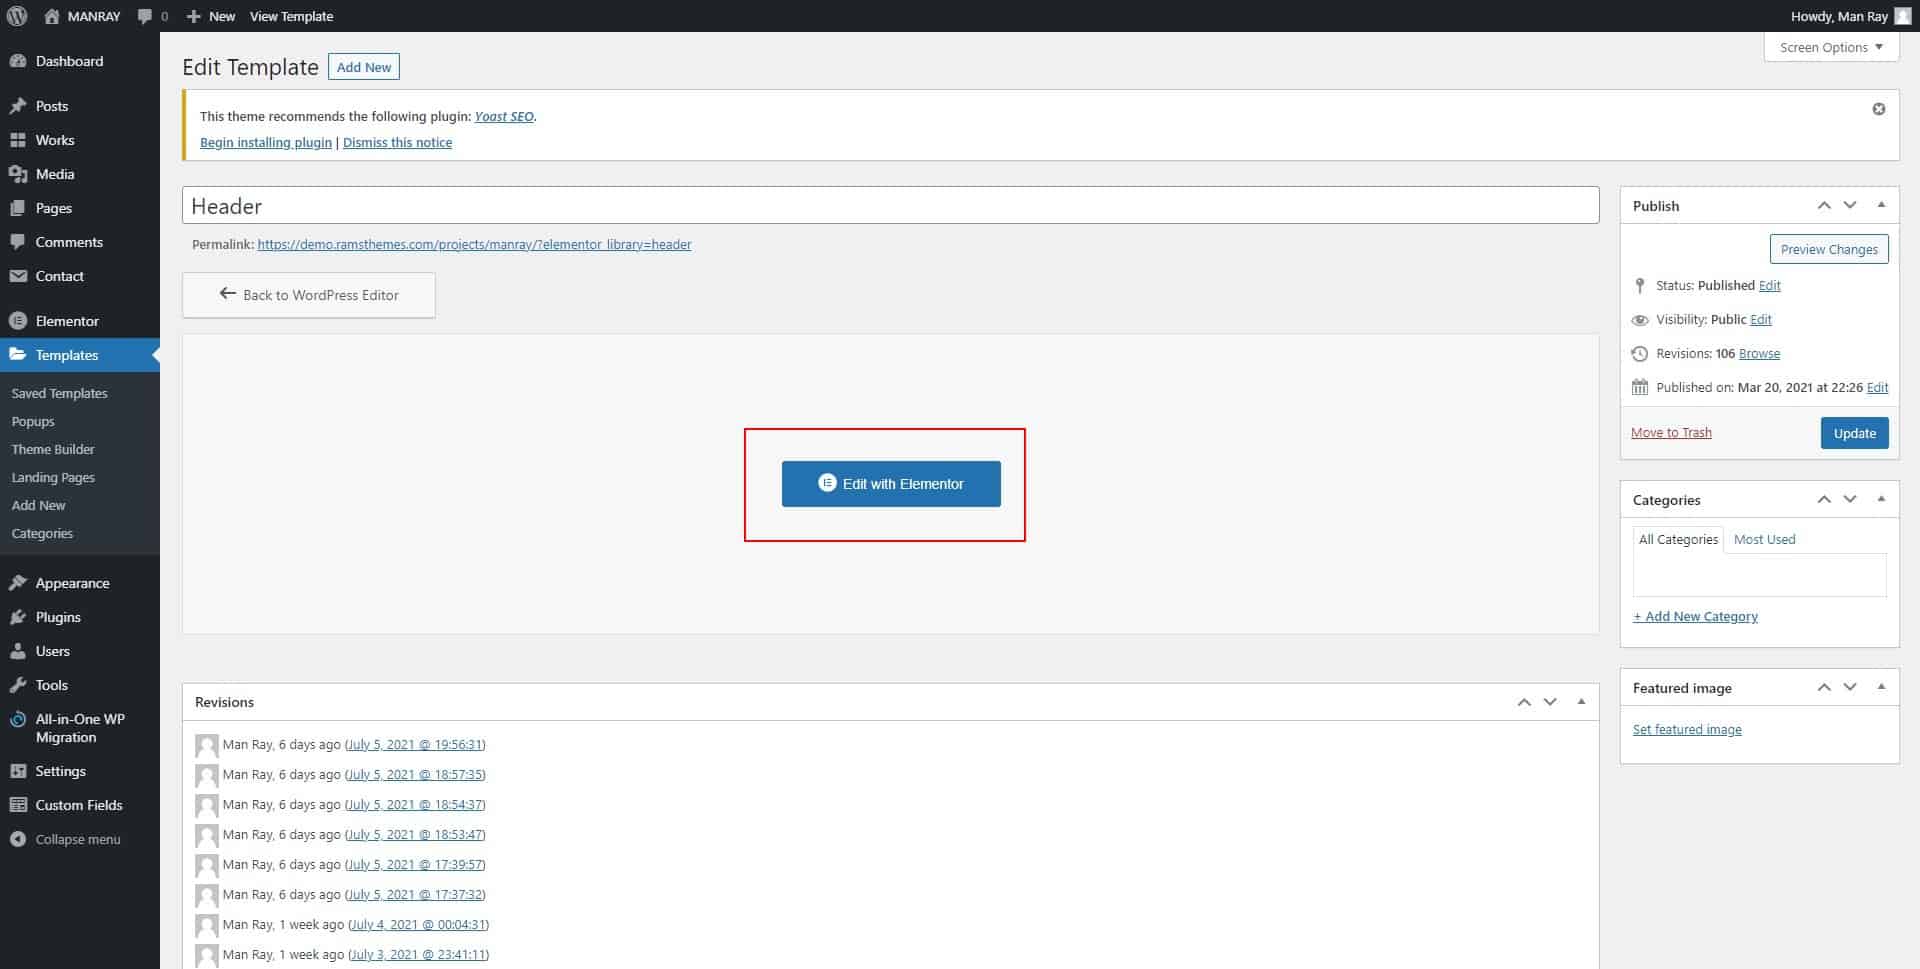
Header Template
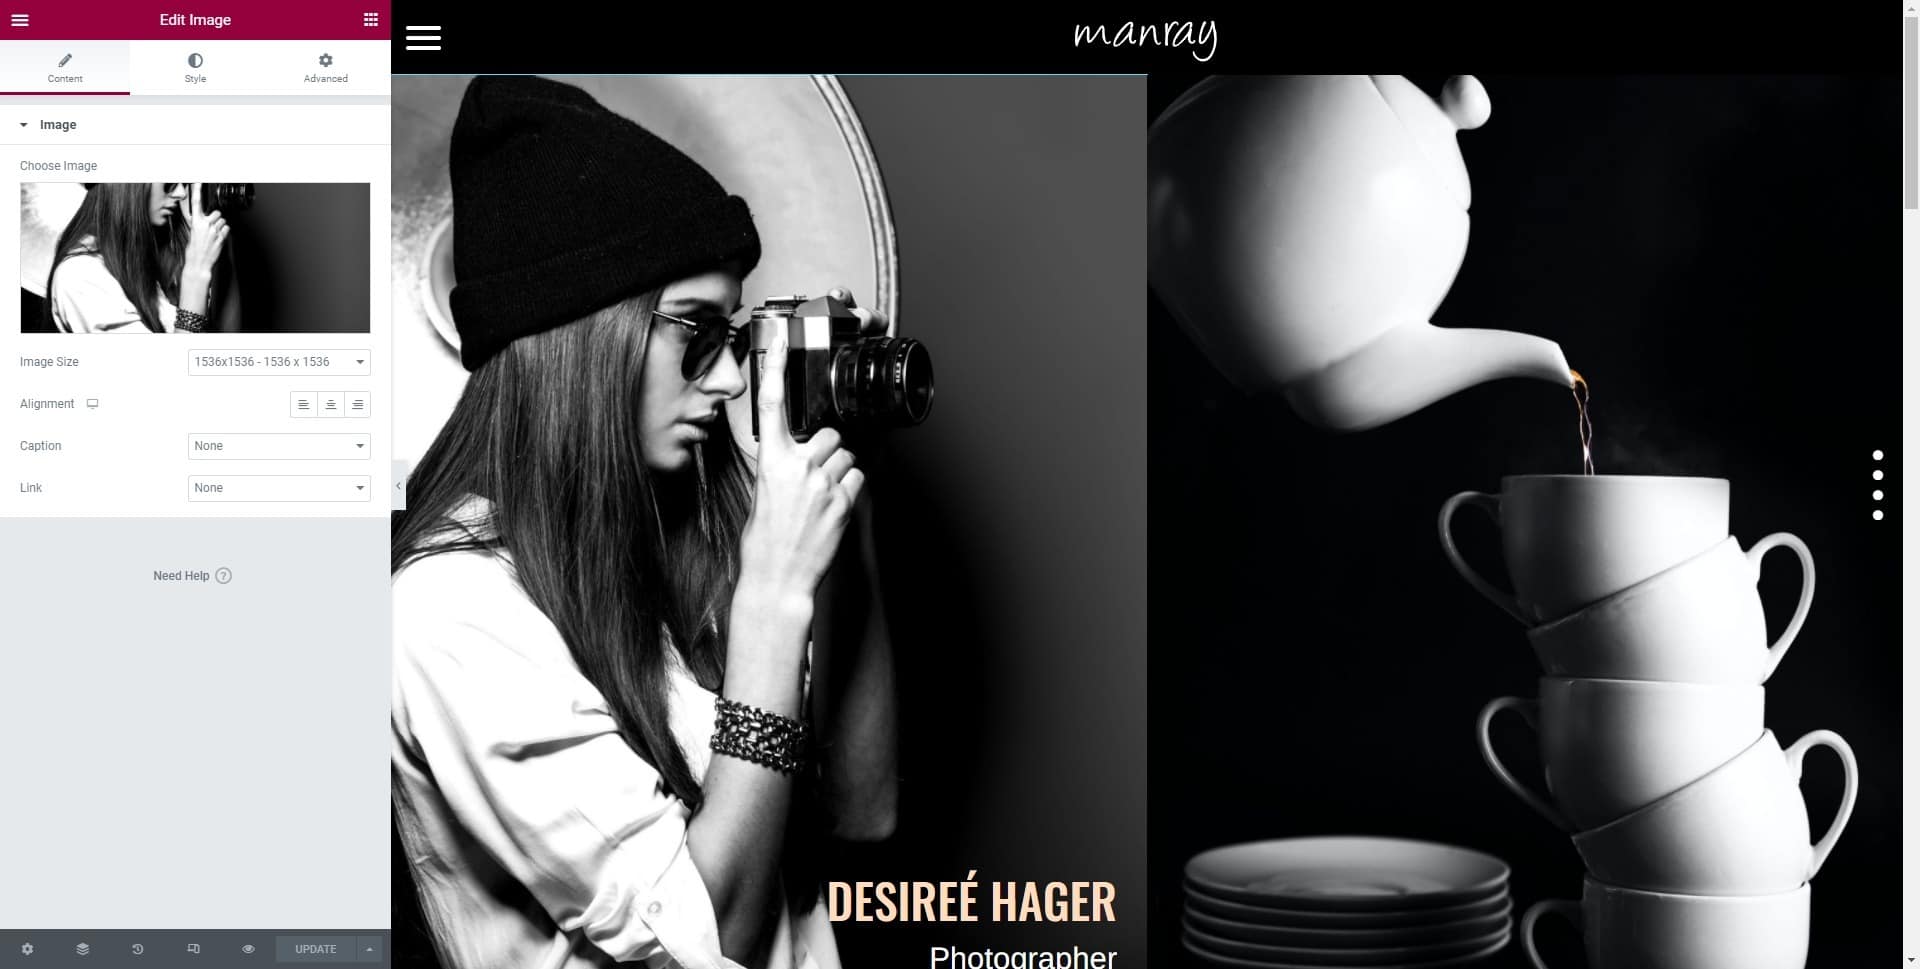
Template uses two columns with the Widgets: Site Logo and Offcanvas Menu.
Edit the template using the button when hover the title in the list. Press the Elementor button
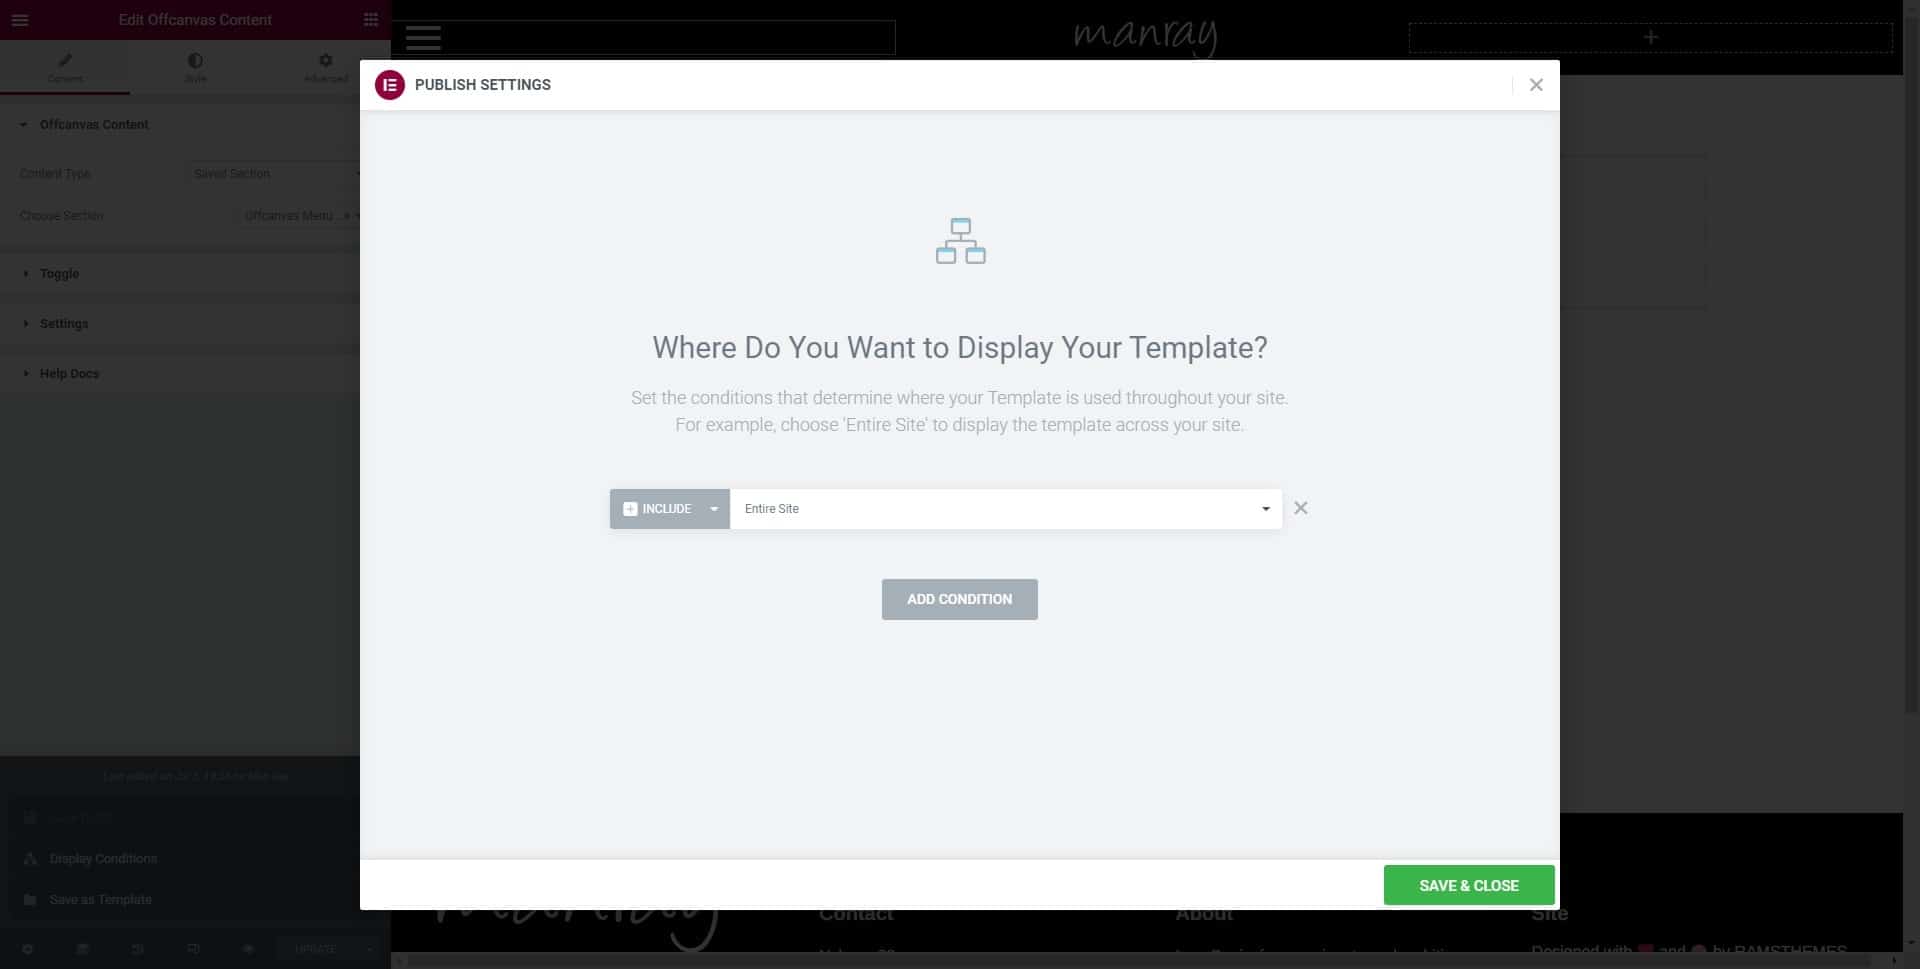
The template layout appears for edit the components (Logo and menu). After customize, press “Display conditions” button on the bottom left, in the arrow near the “Update “ button.
Select the “Entire site” condition and hit Save & Close
Footer Template
This section is configured with four columns ready to add any Elementor widget like headings, images and custom texts.
Condition:
Include > Entire site
Home Template
The Home template uses custom four sections displayed as grid with content inside and a one-page navigation widget to enable the movement through sections.
Theme includes 3 more Home models to use.
Condition:
Include > Pages > Home
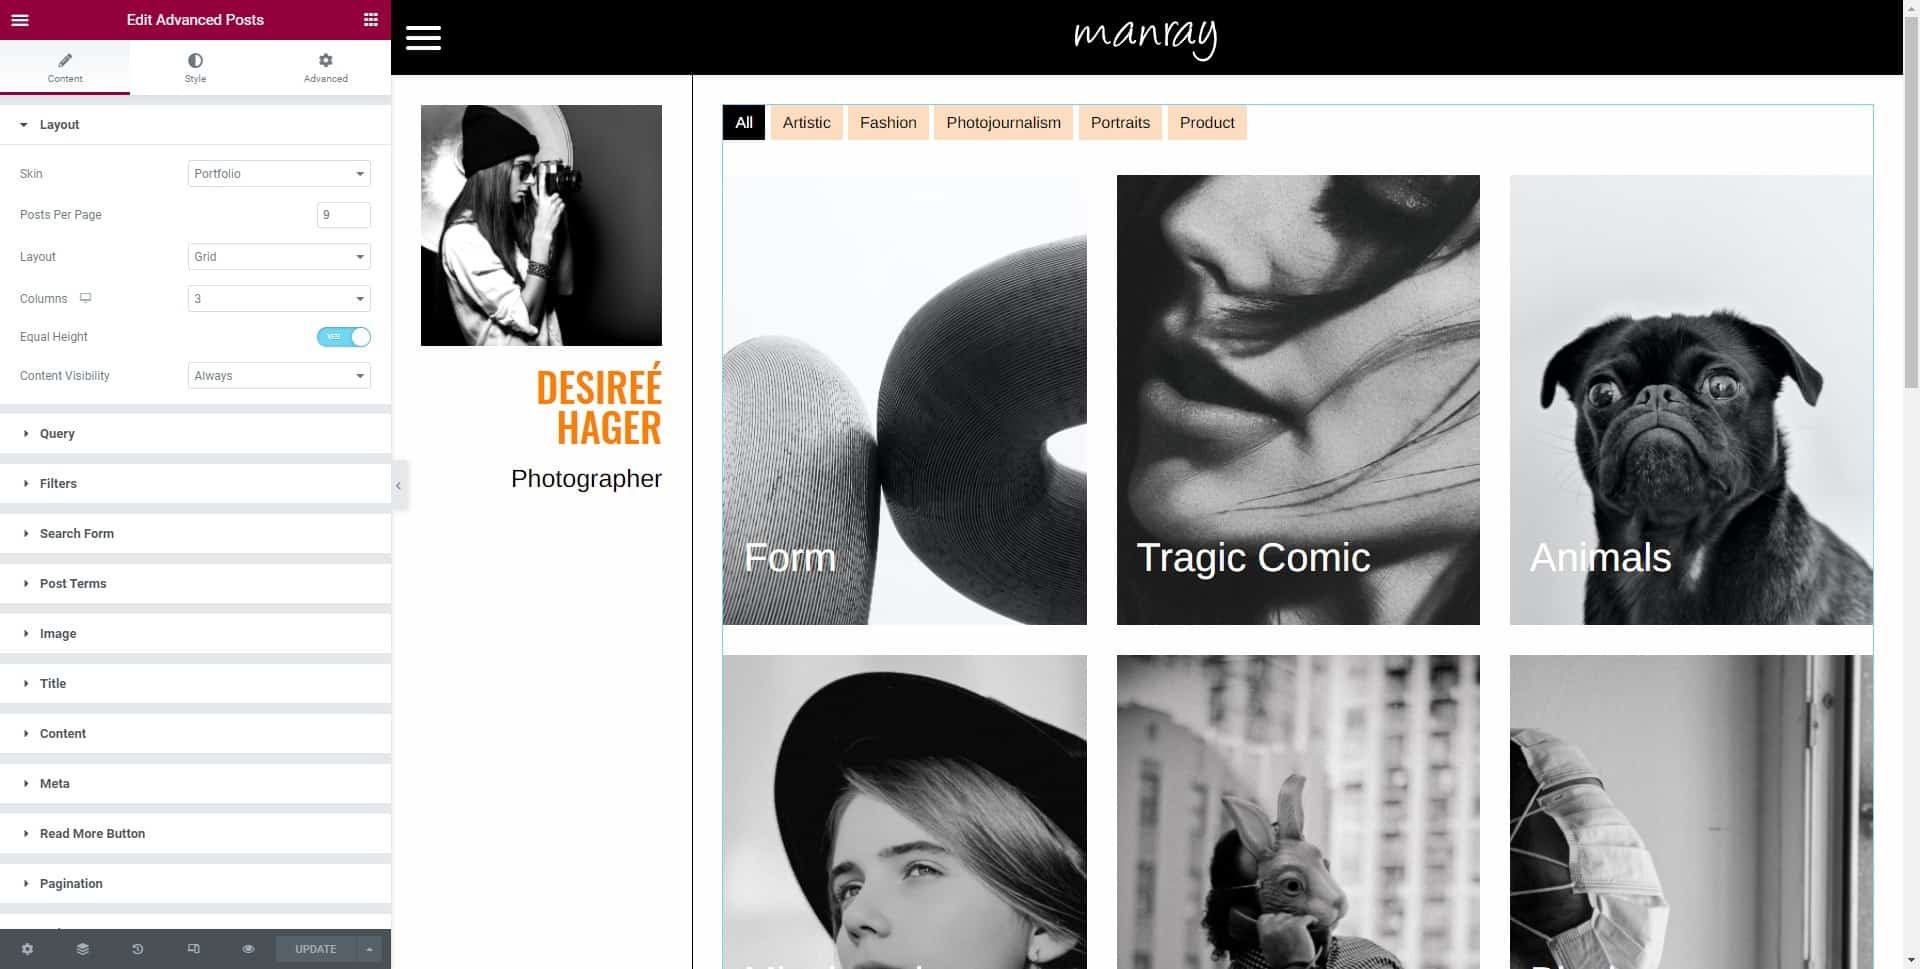
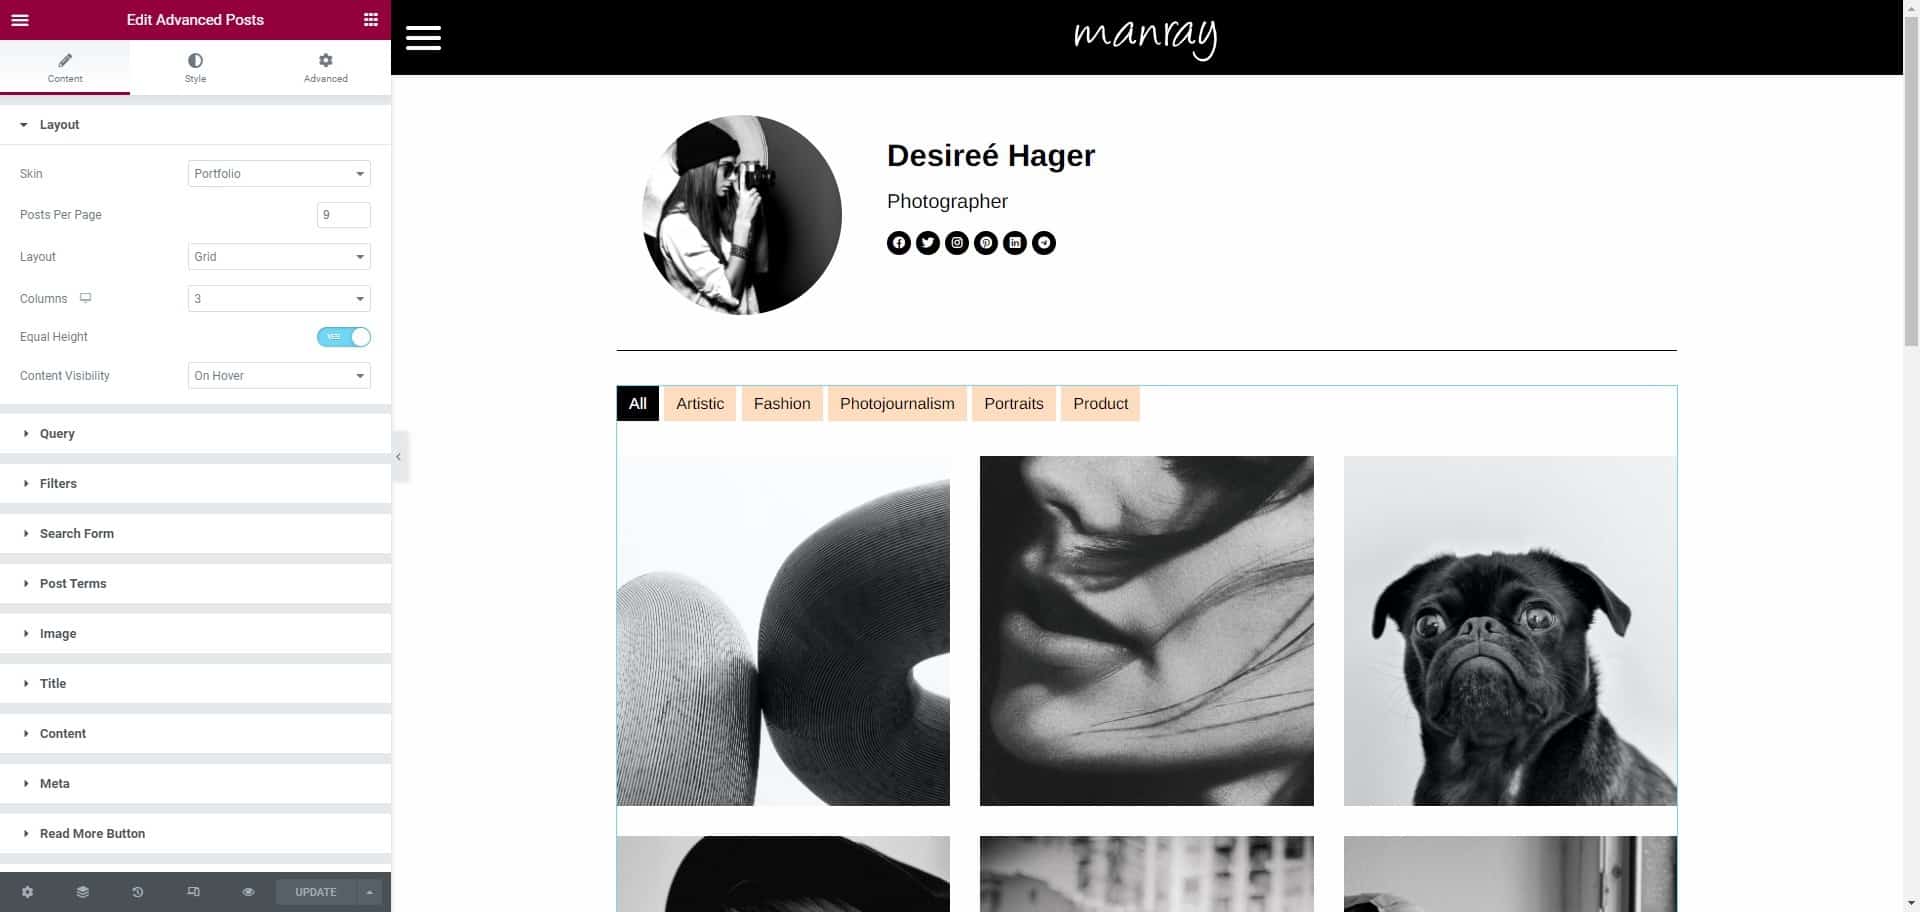
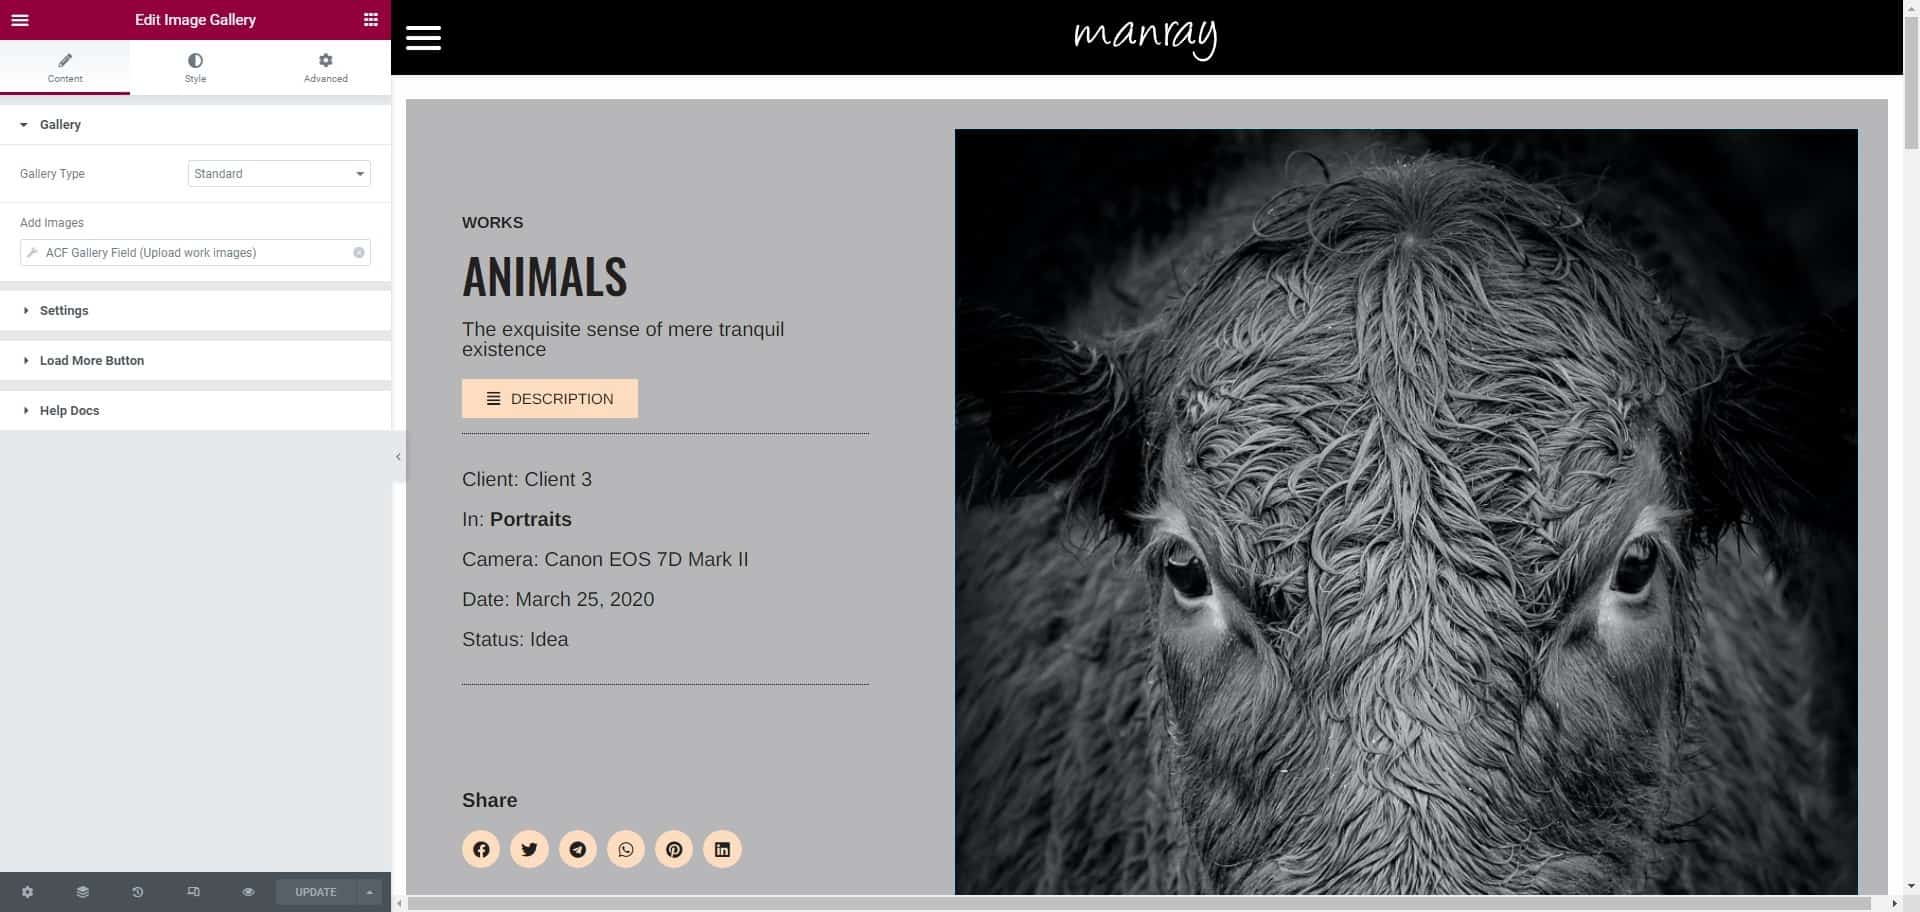
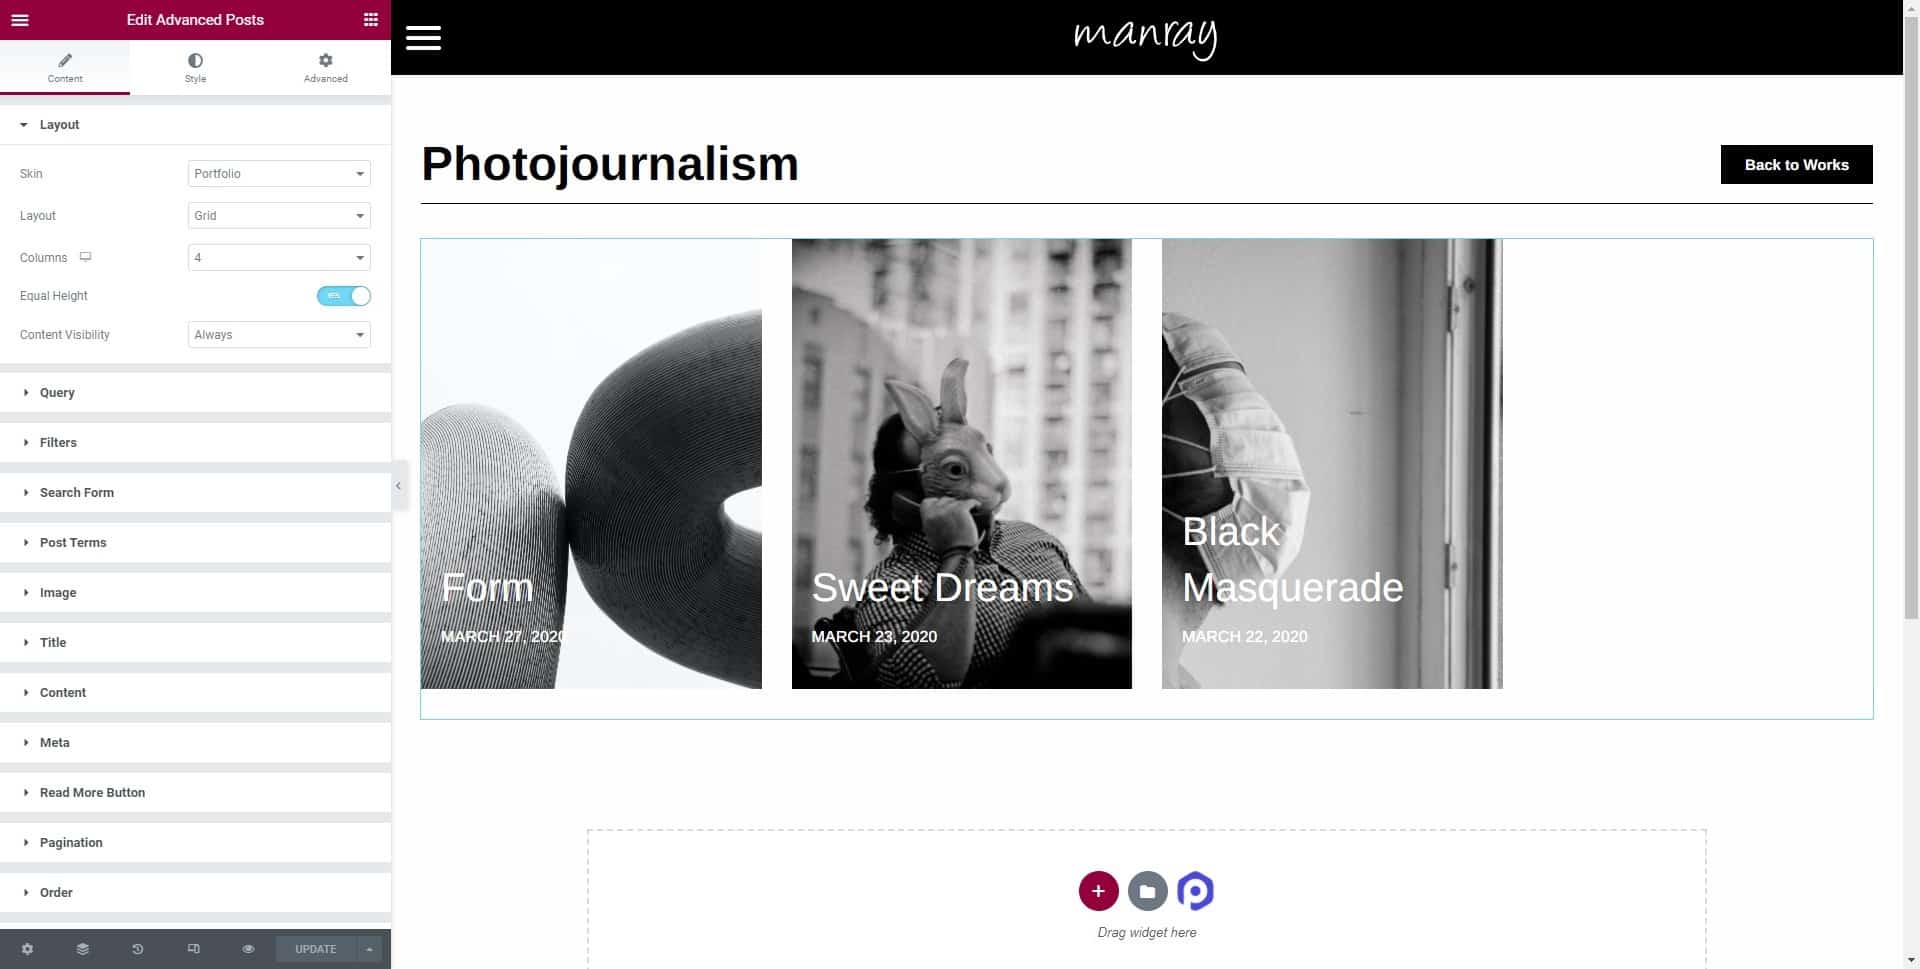
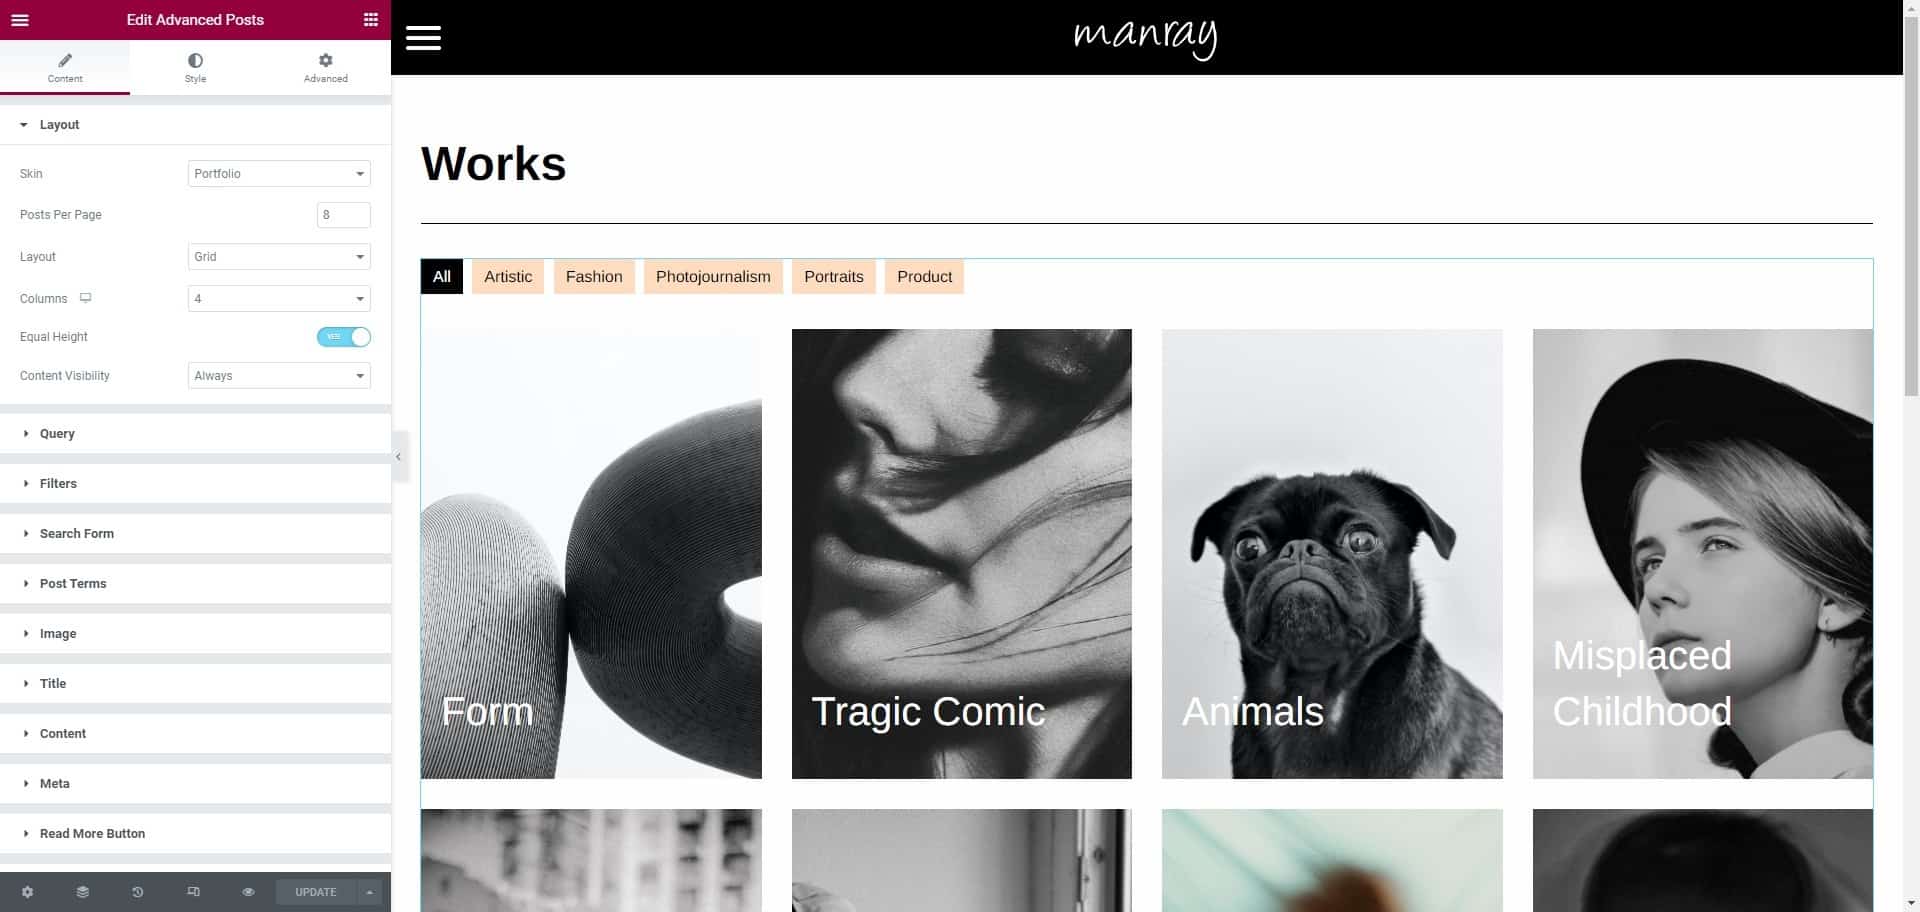
Works Template
This template uses the basic components of a work or project (Title, excerpt, featured image, content, custom fields, social share buttons) using Elementor widgets. If need to add other custom fields text to the project, feel free to contact us and we guide you on the process.
The left column uses the Work Content section template
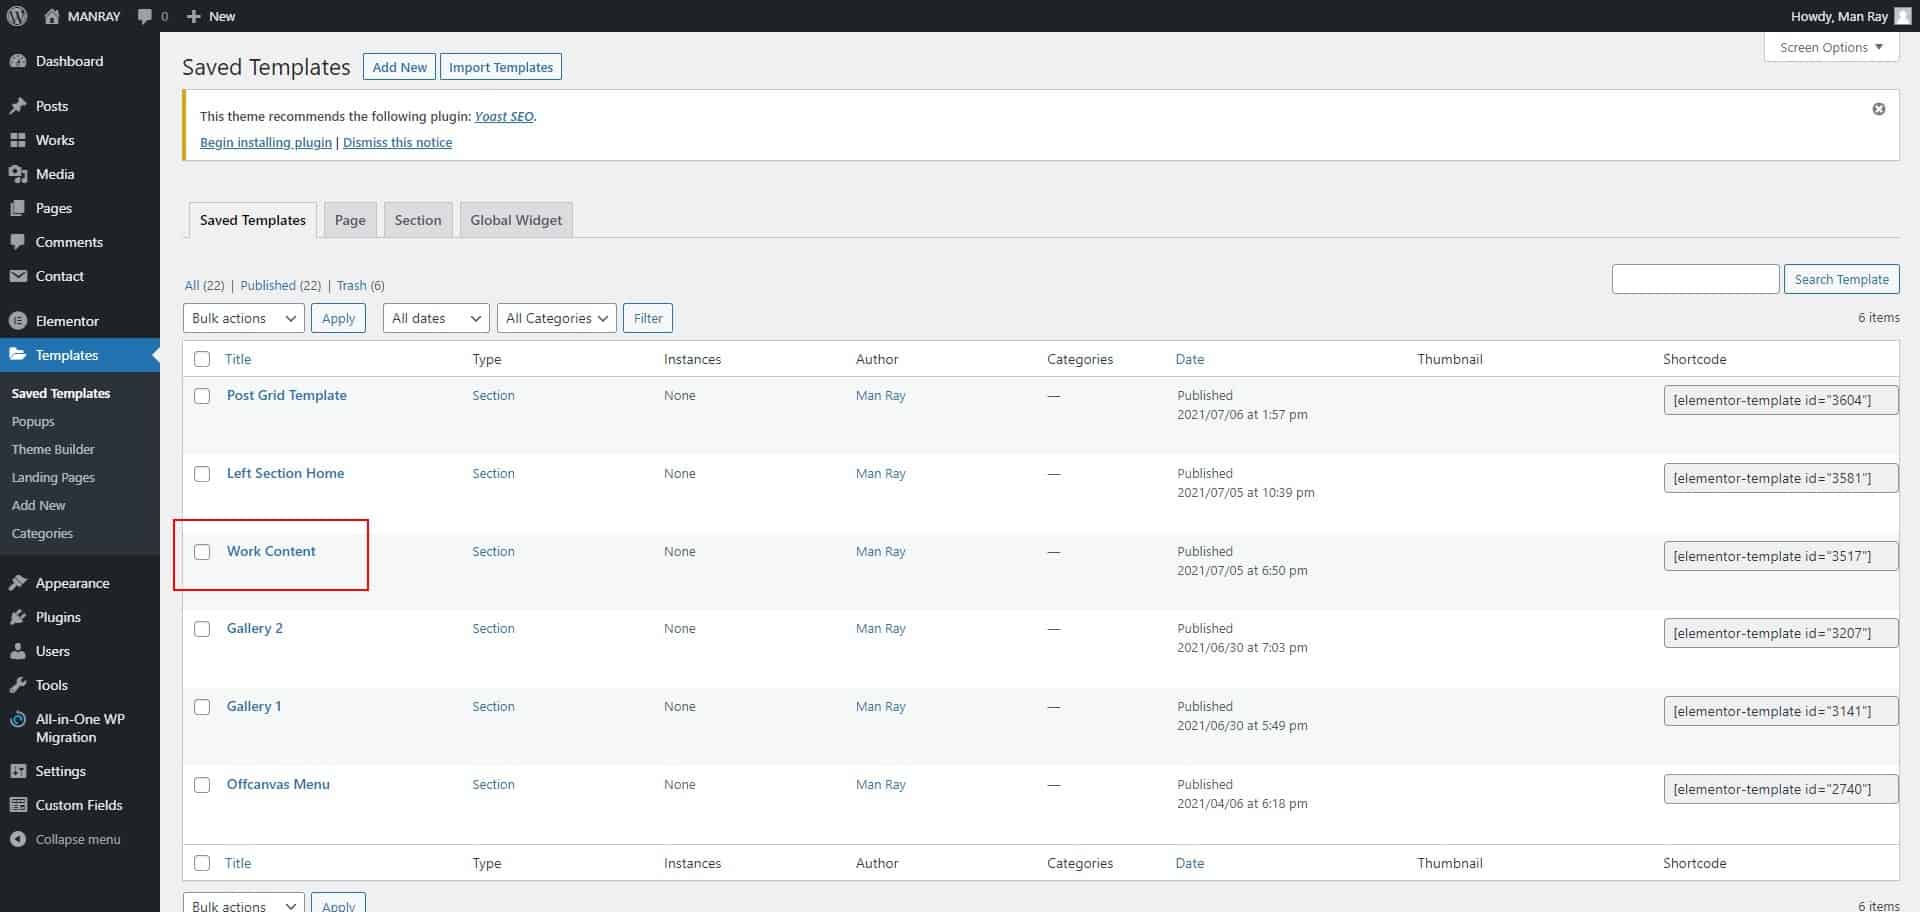
and the right uses a tiled gallery widget.
Condition:
Include > Works > All
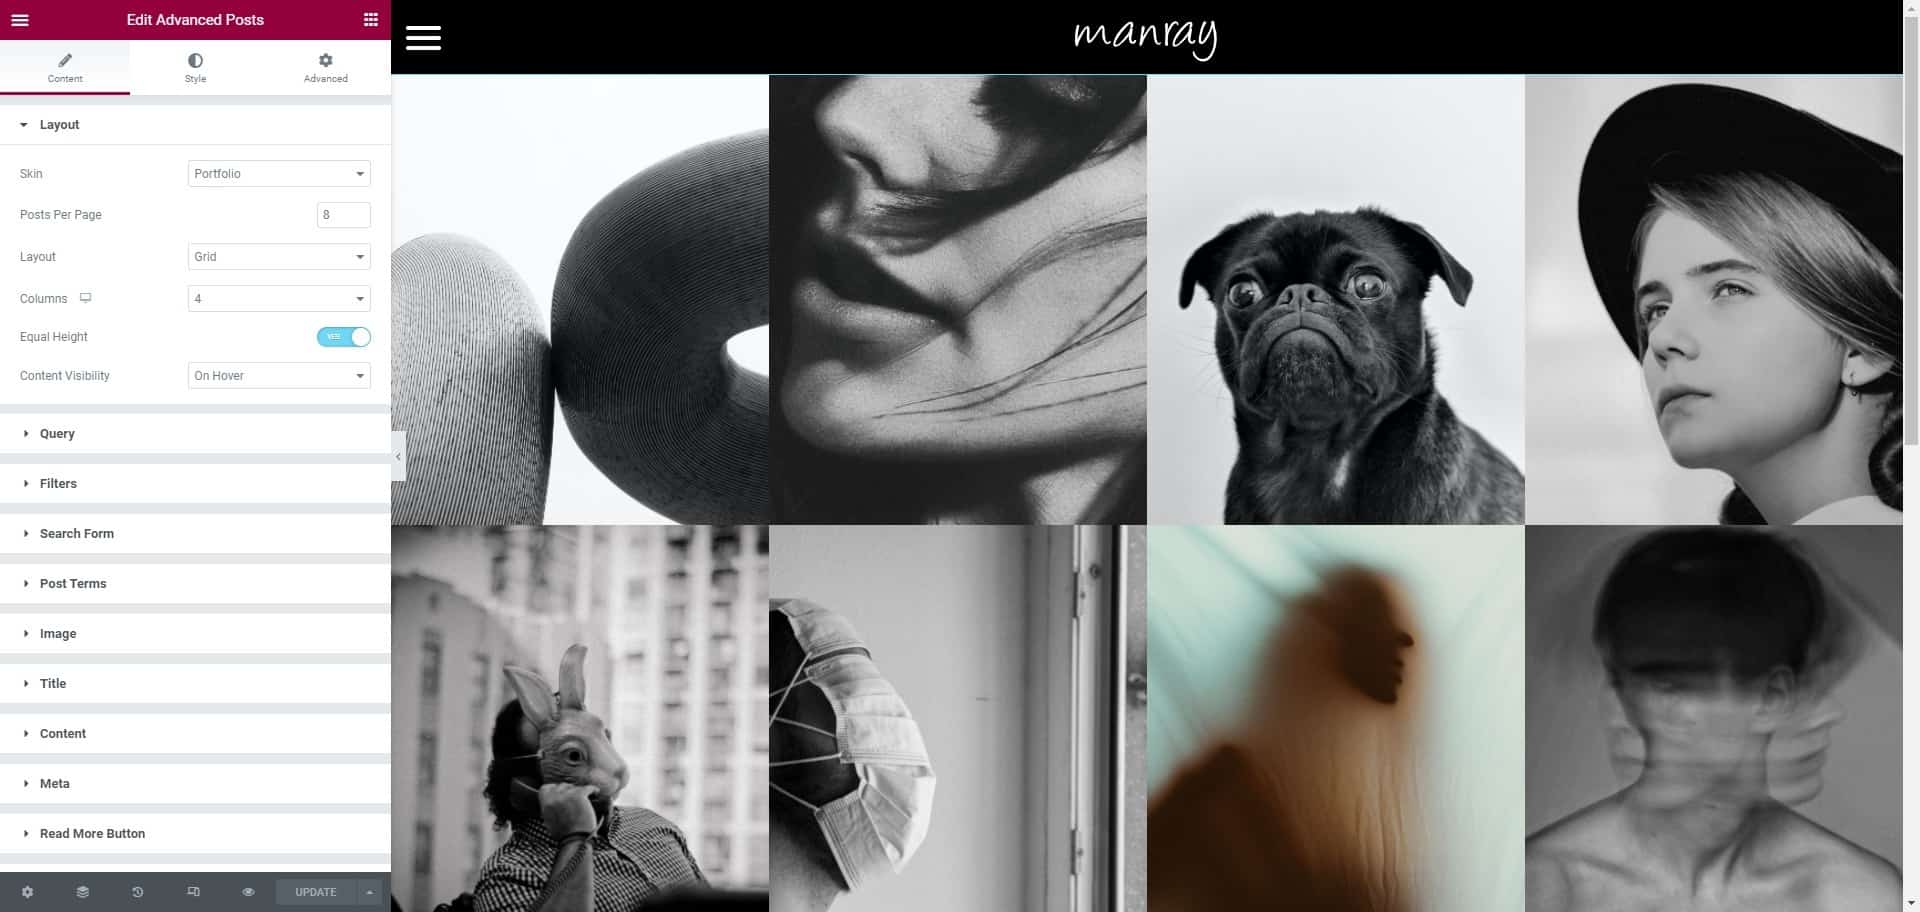
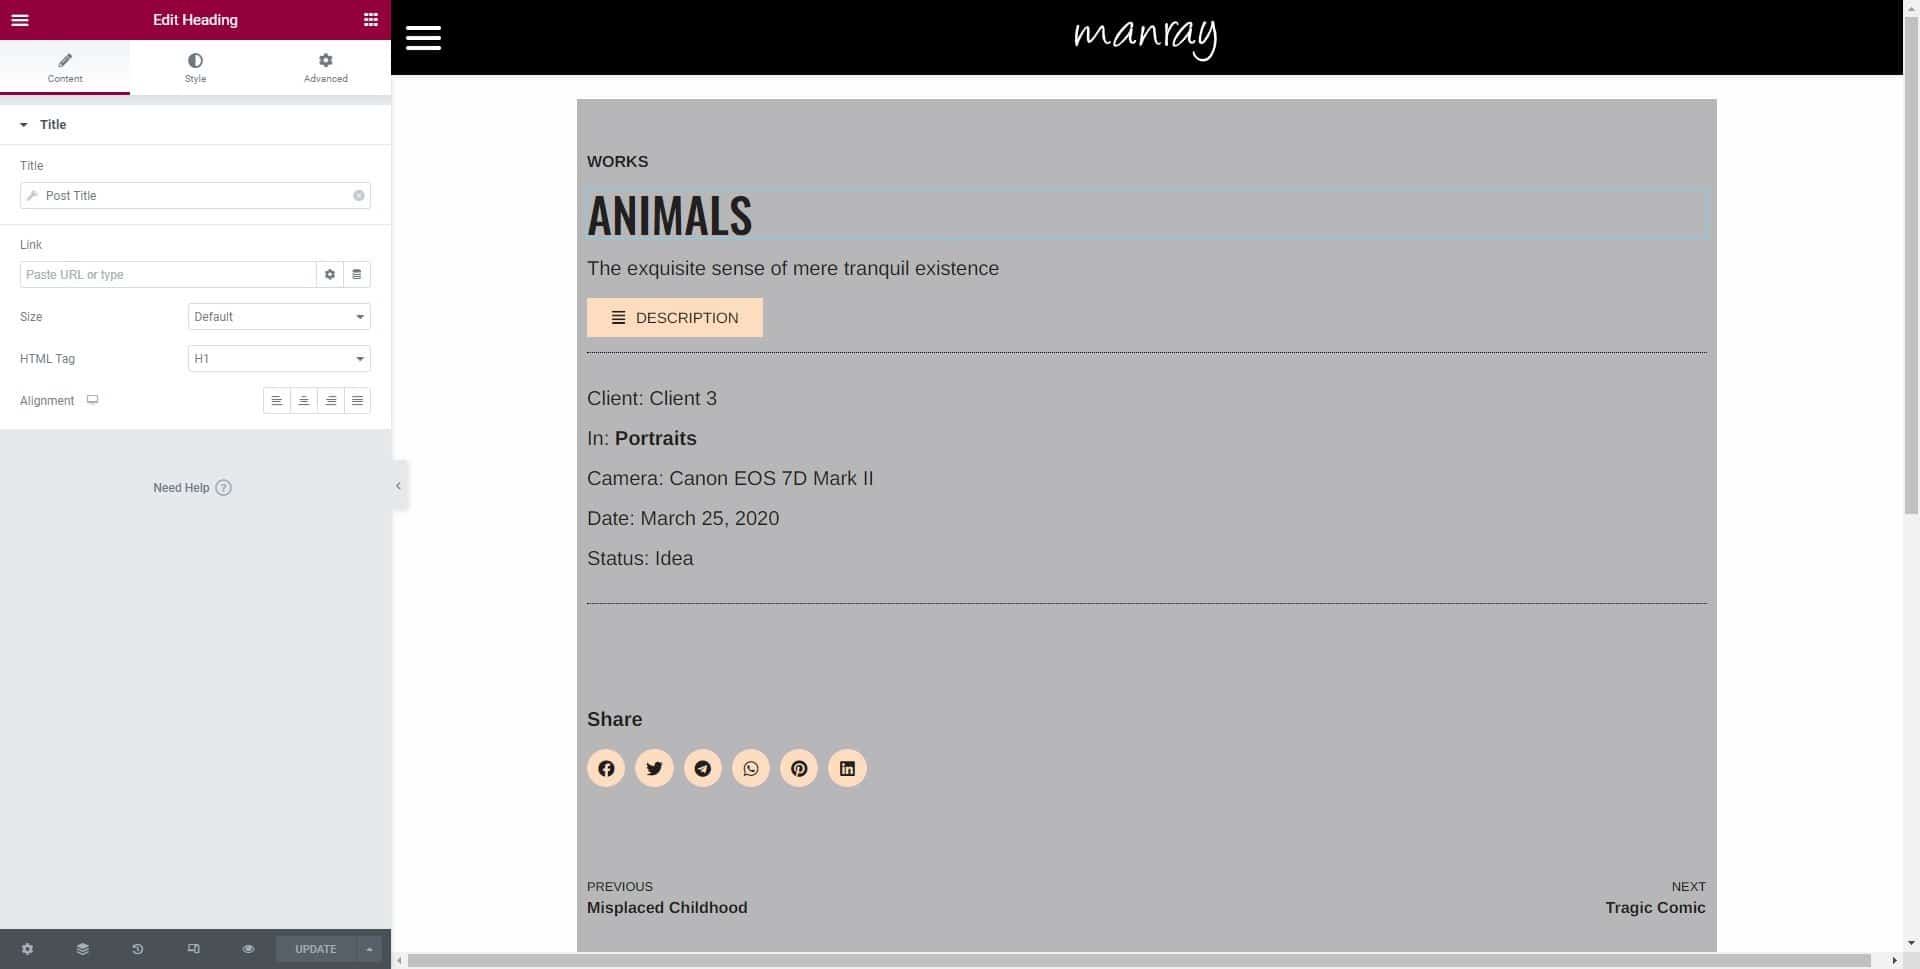
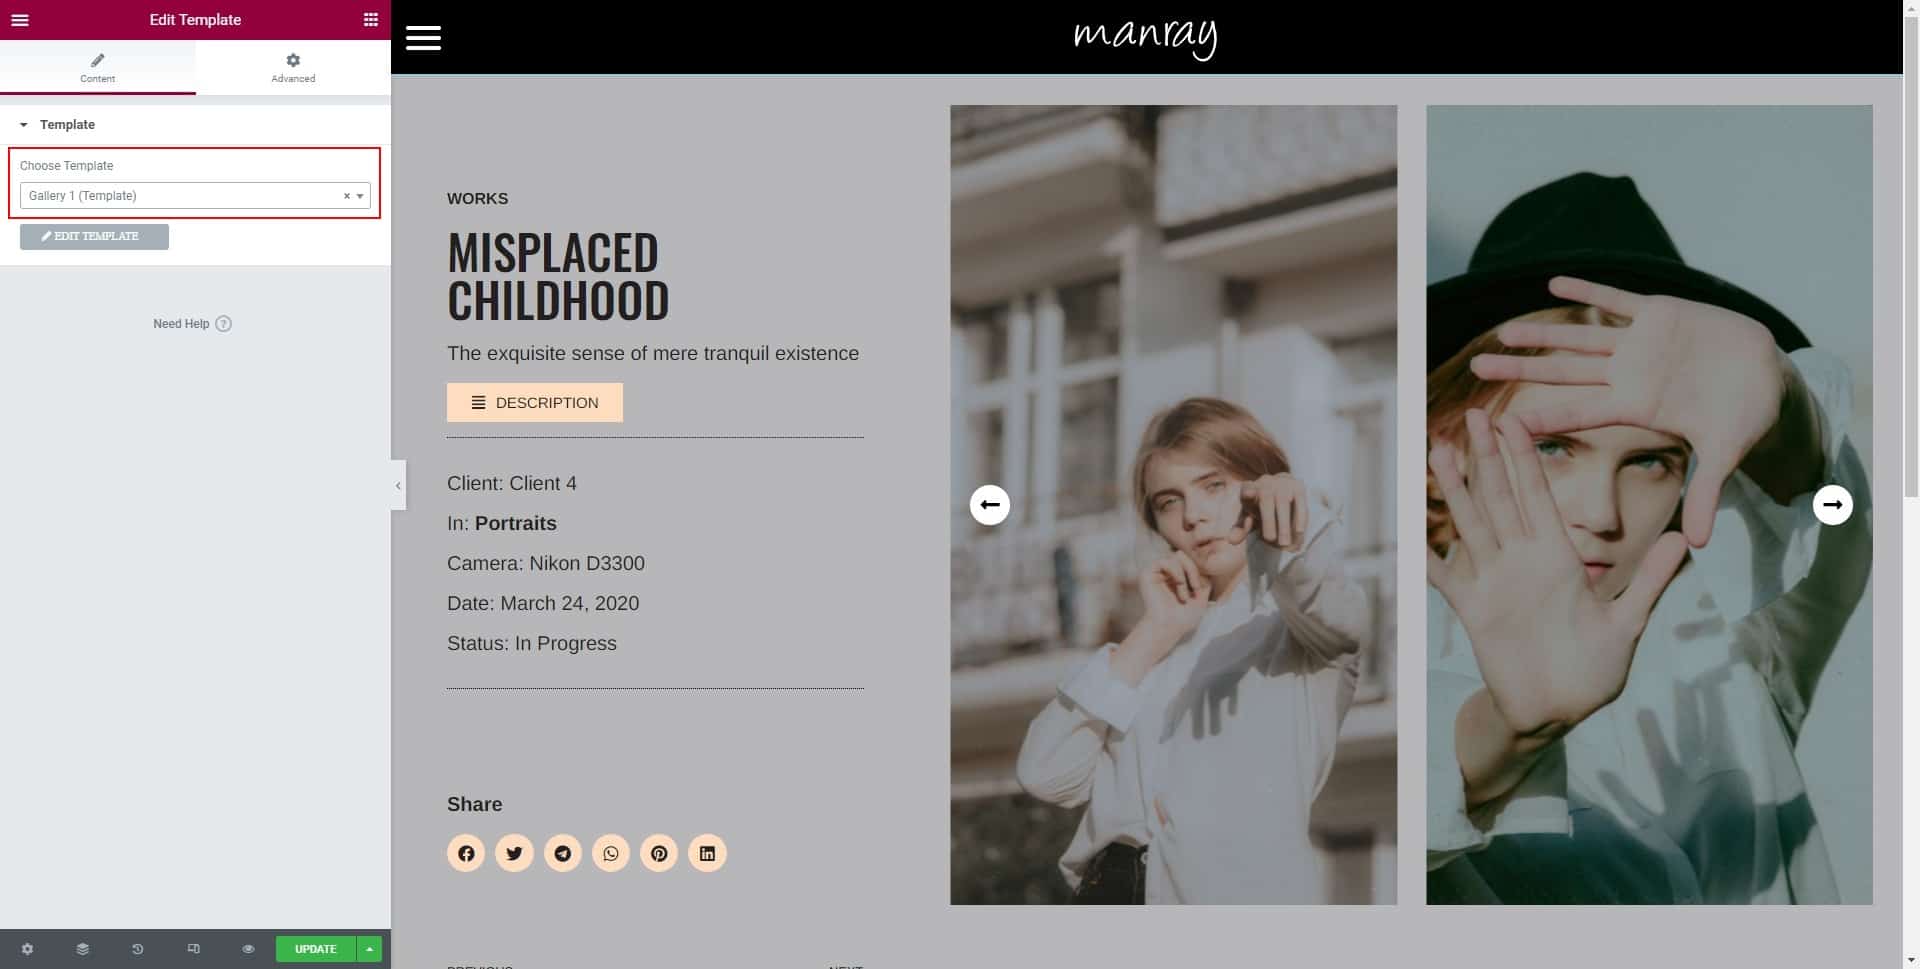
Works with other gallery templates
Depending the photos used on work, there will be two gallery section templates, Gallery 1 and Gallery 2.
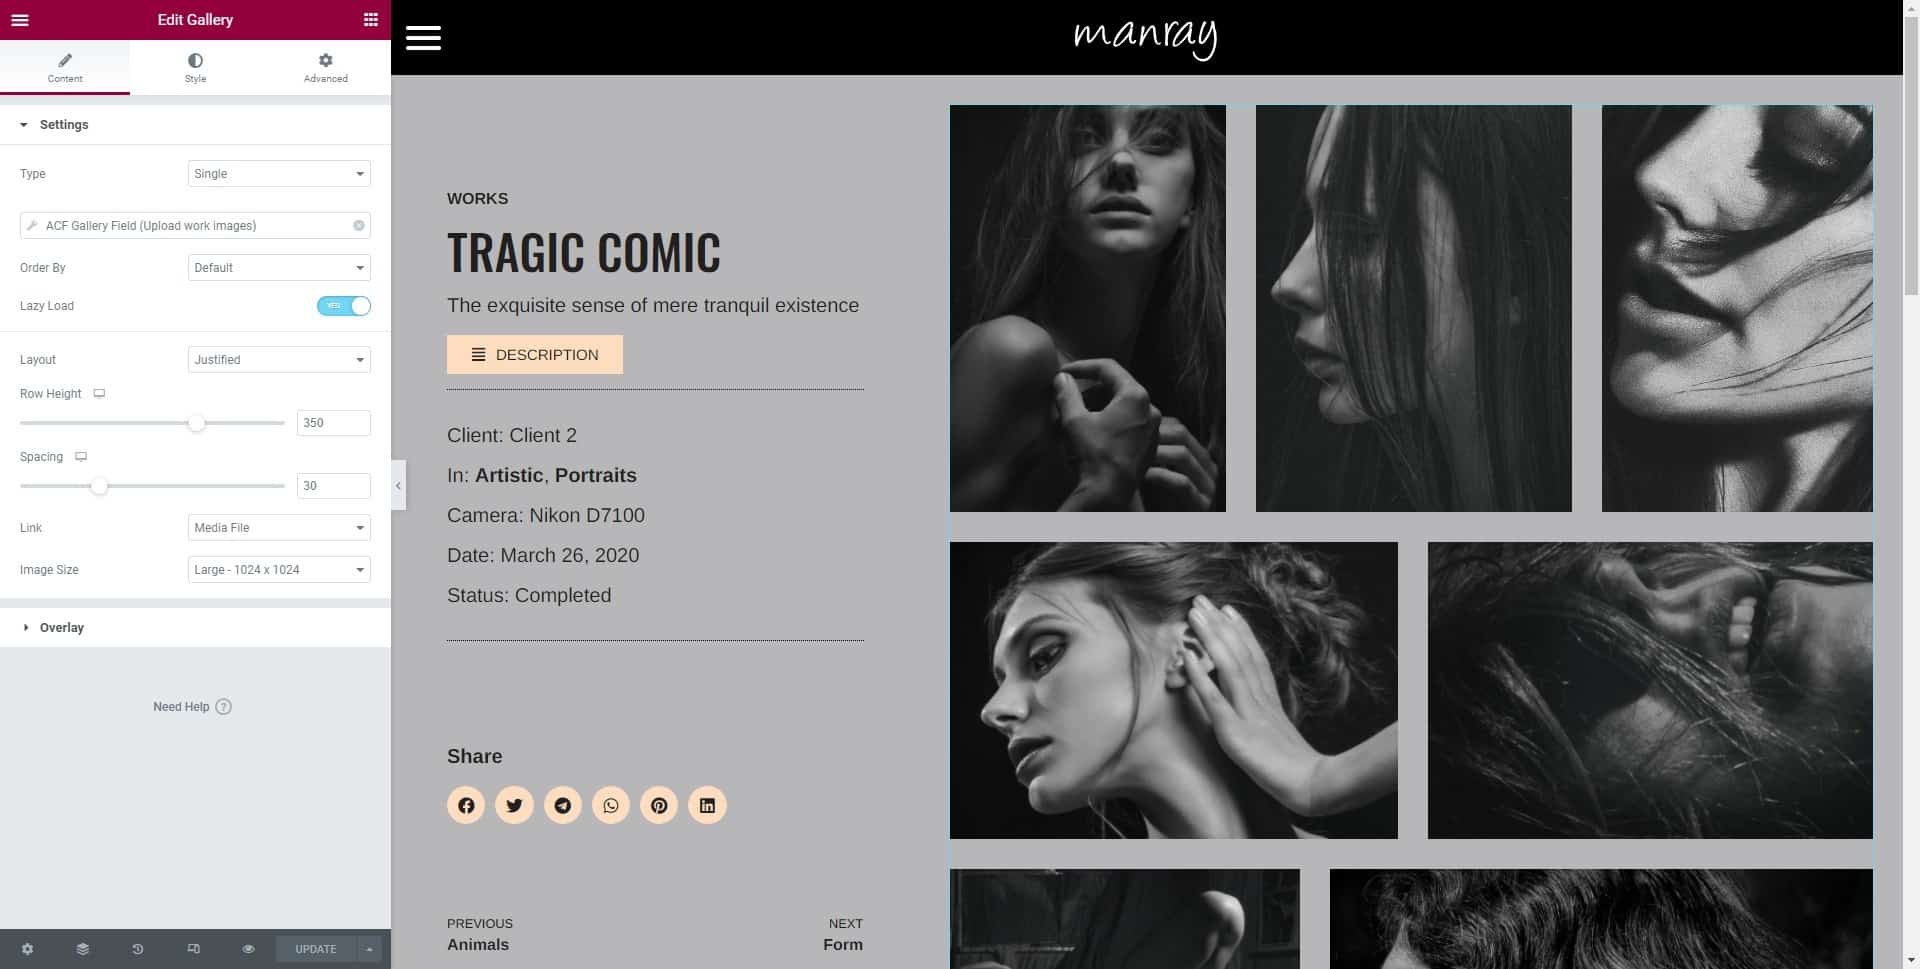
To make a post different of the common Work template:
Edit a Work with Elementor and use the Elementor Full Width template
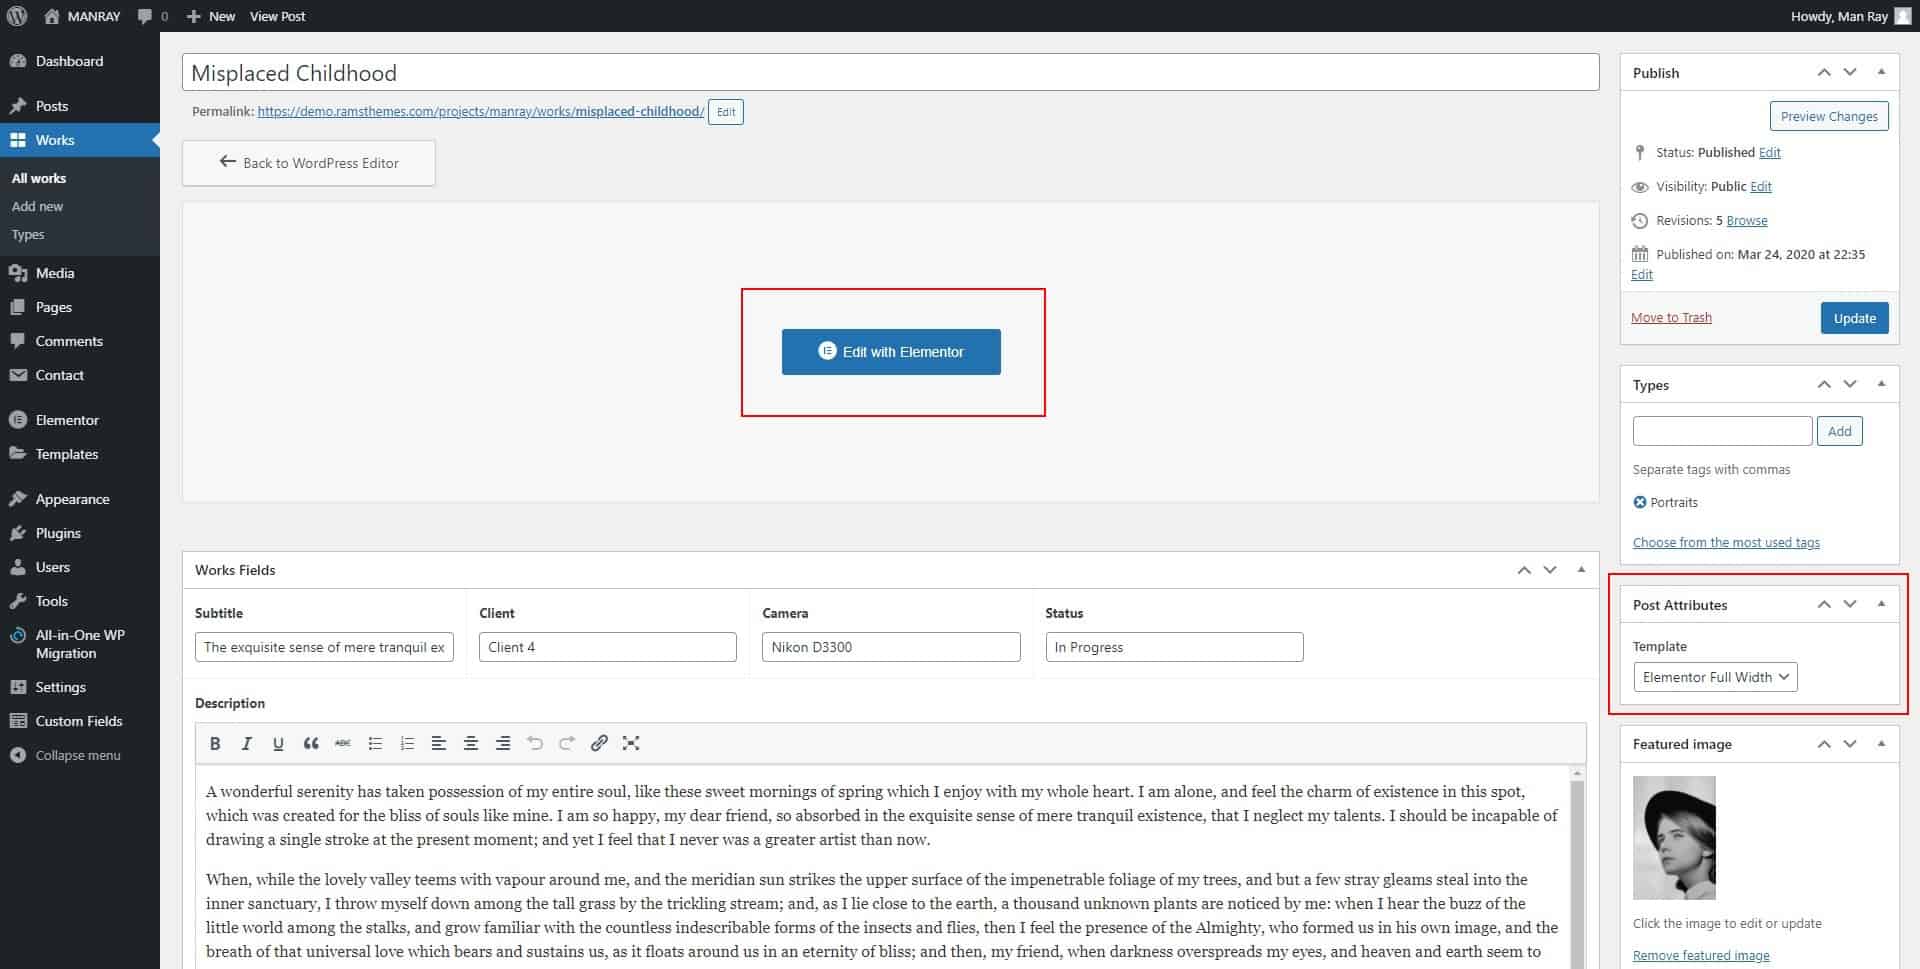
This leaves a blank space between header and footer. Place the Template widget and select the Gallery 1 or 2 section template. On the Section Layout use Full Width with No Gap to fit in the Work template.
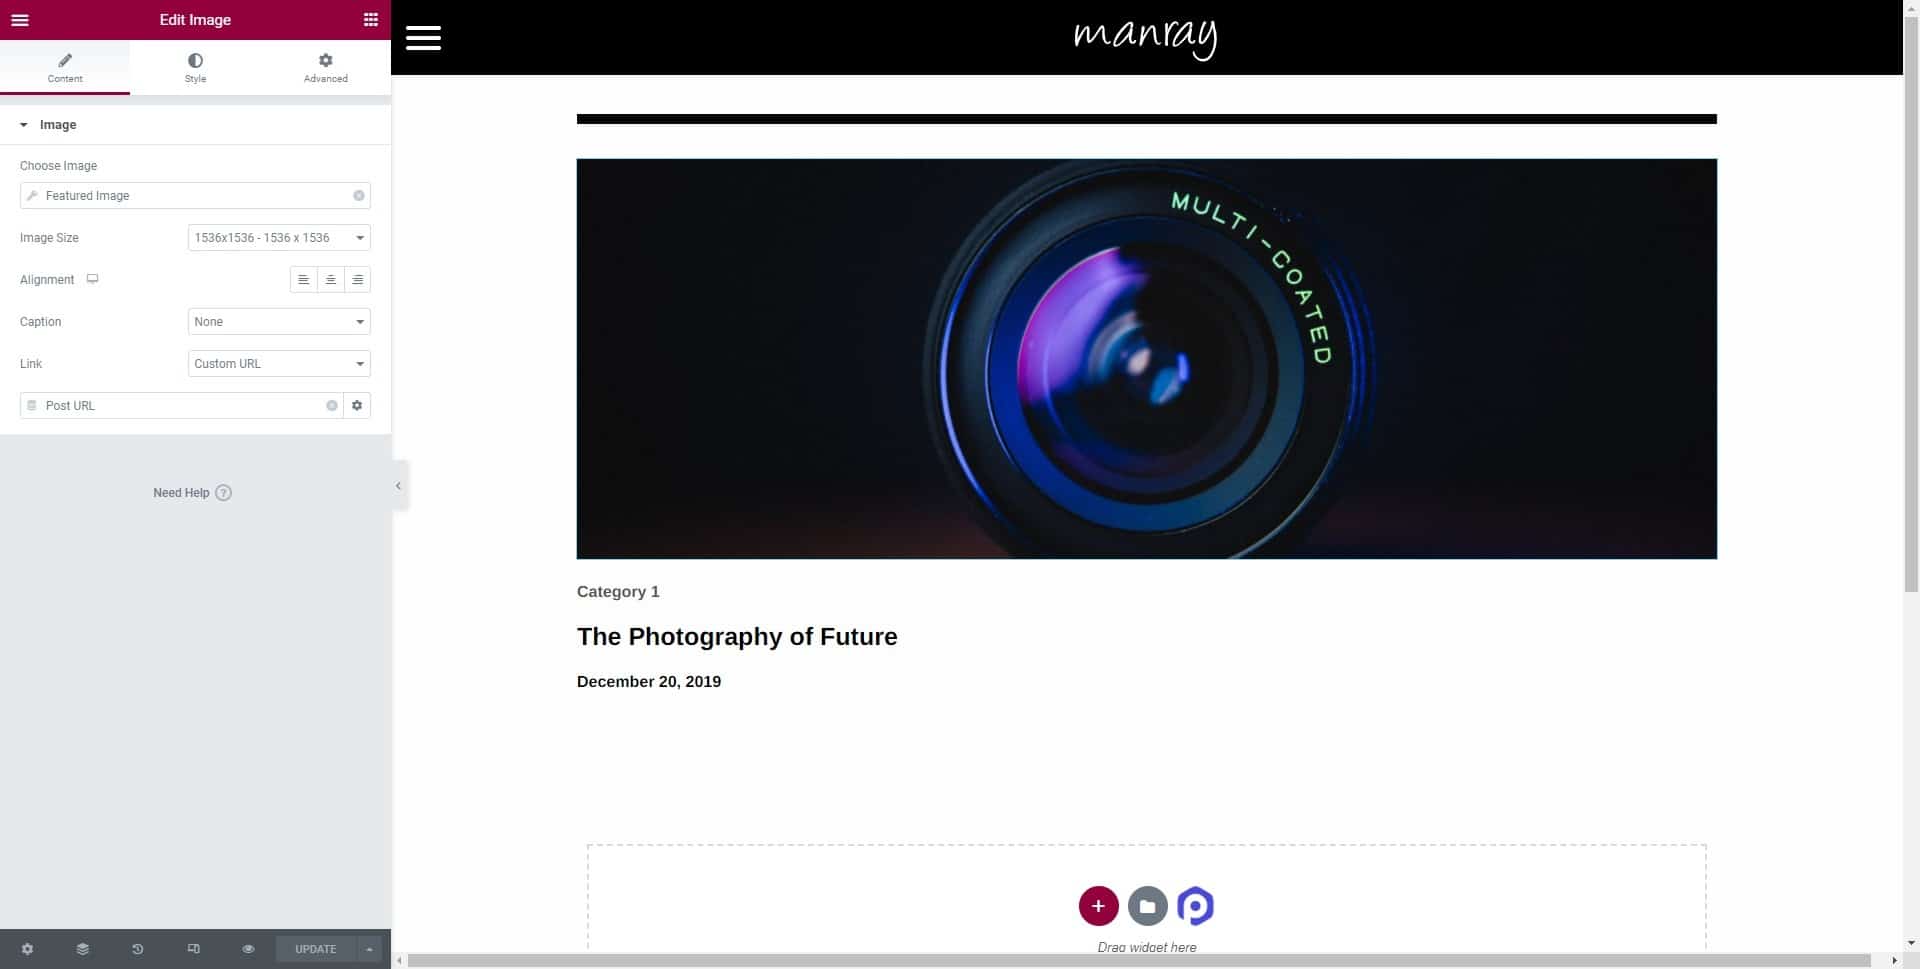
Single Post Template
This template uses the basic components of a post (Title, excerpt, featured image, content, comments, social share buttons) using Elementor widgets.
Condition:
Include > Posts > All
Blog Archive Template
This template uses the Advanced posts widget to display all single posts of Blog, applied to posts categories, posts archive, and search page.
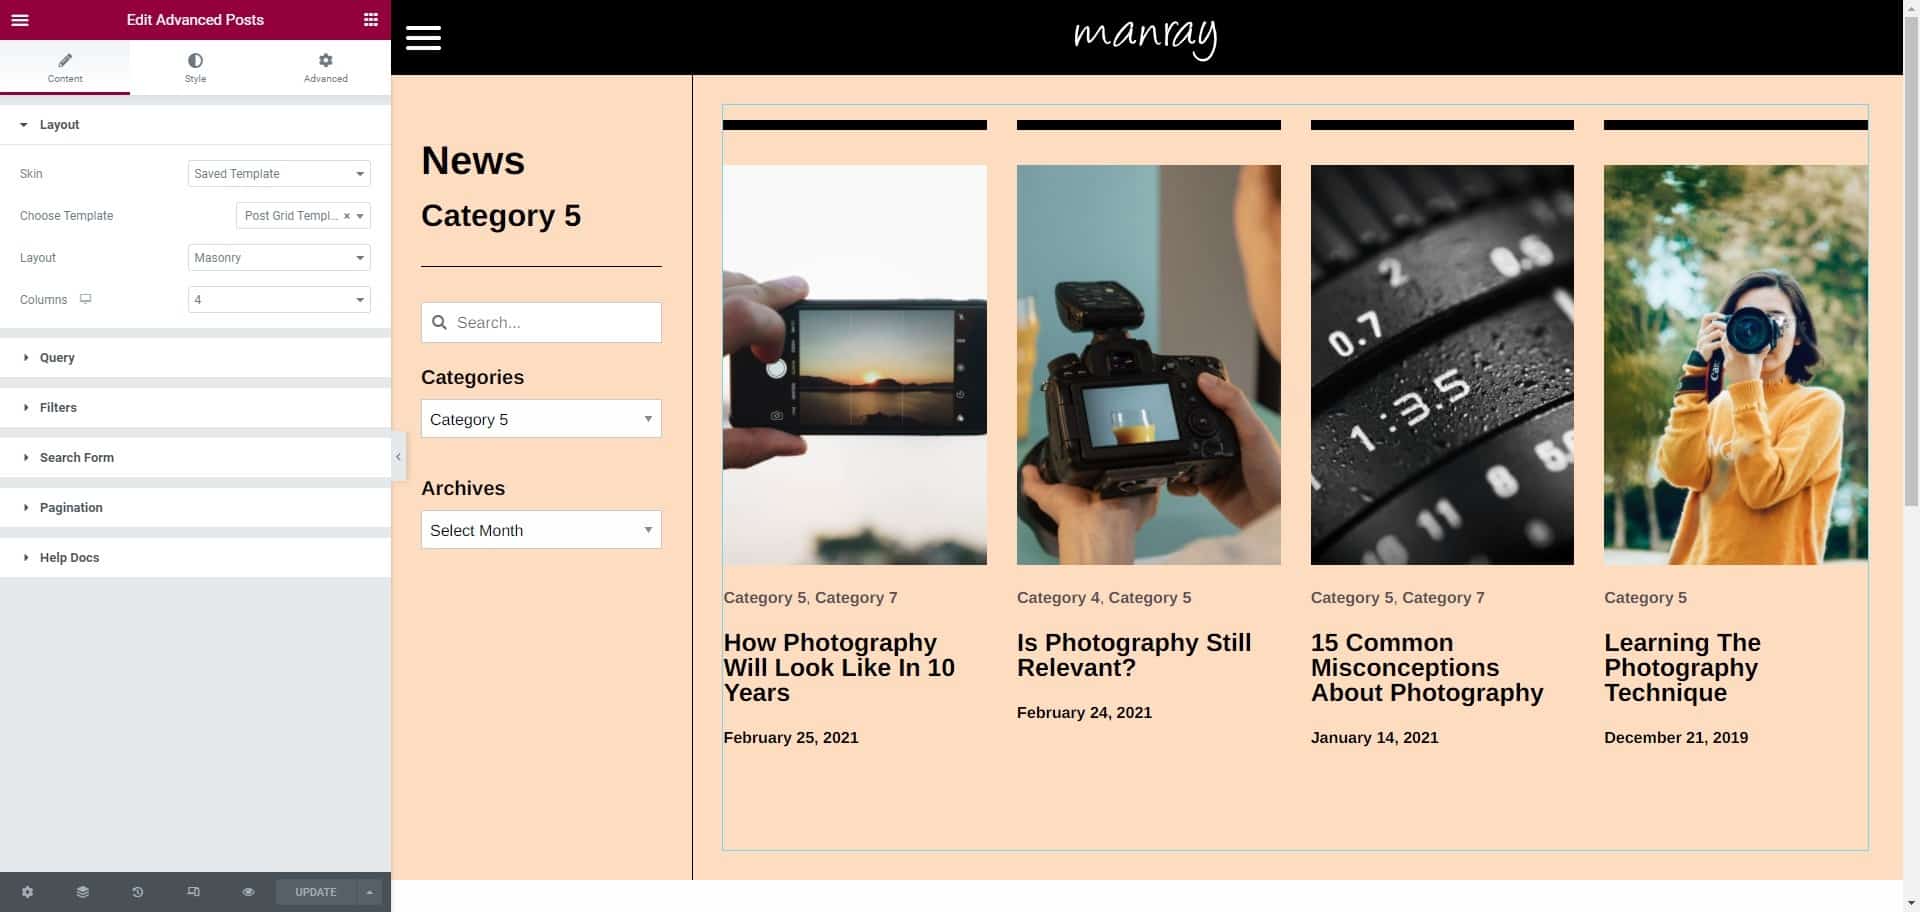
This template also uses the Post Grid Template placed as content through the Advanced Post Template Widget, generating the custom inner content.
Condition:
Include > All Archives, Search Results
Types Archive Template
This template uses the Advanced posts widget to display all works posts, applied to the custom taxonomy “Types” archive, which means the categories of works
Condition:
Include > Types > All
Works Archive Template
This template uses the Advanced posts widget to display all works posts, applied to the custom post type archive
Condition:
Include > Works Archive
Common Pages Template
A general template used for simple pages using Featured image, Title and content
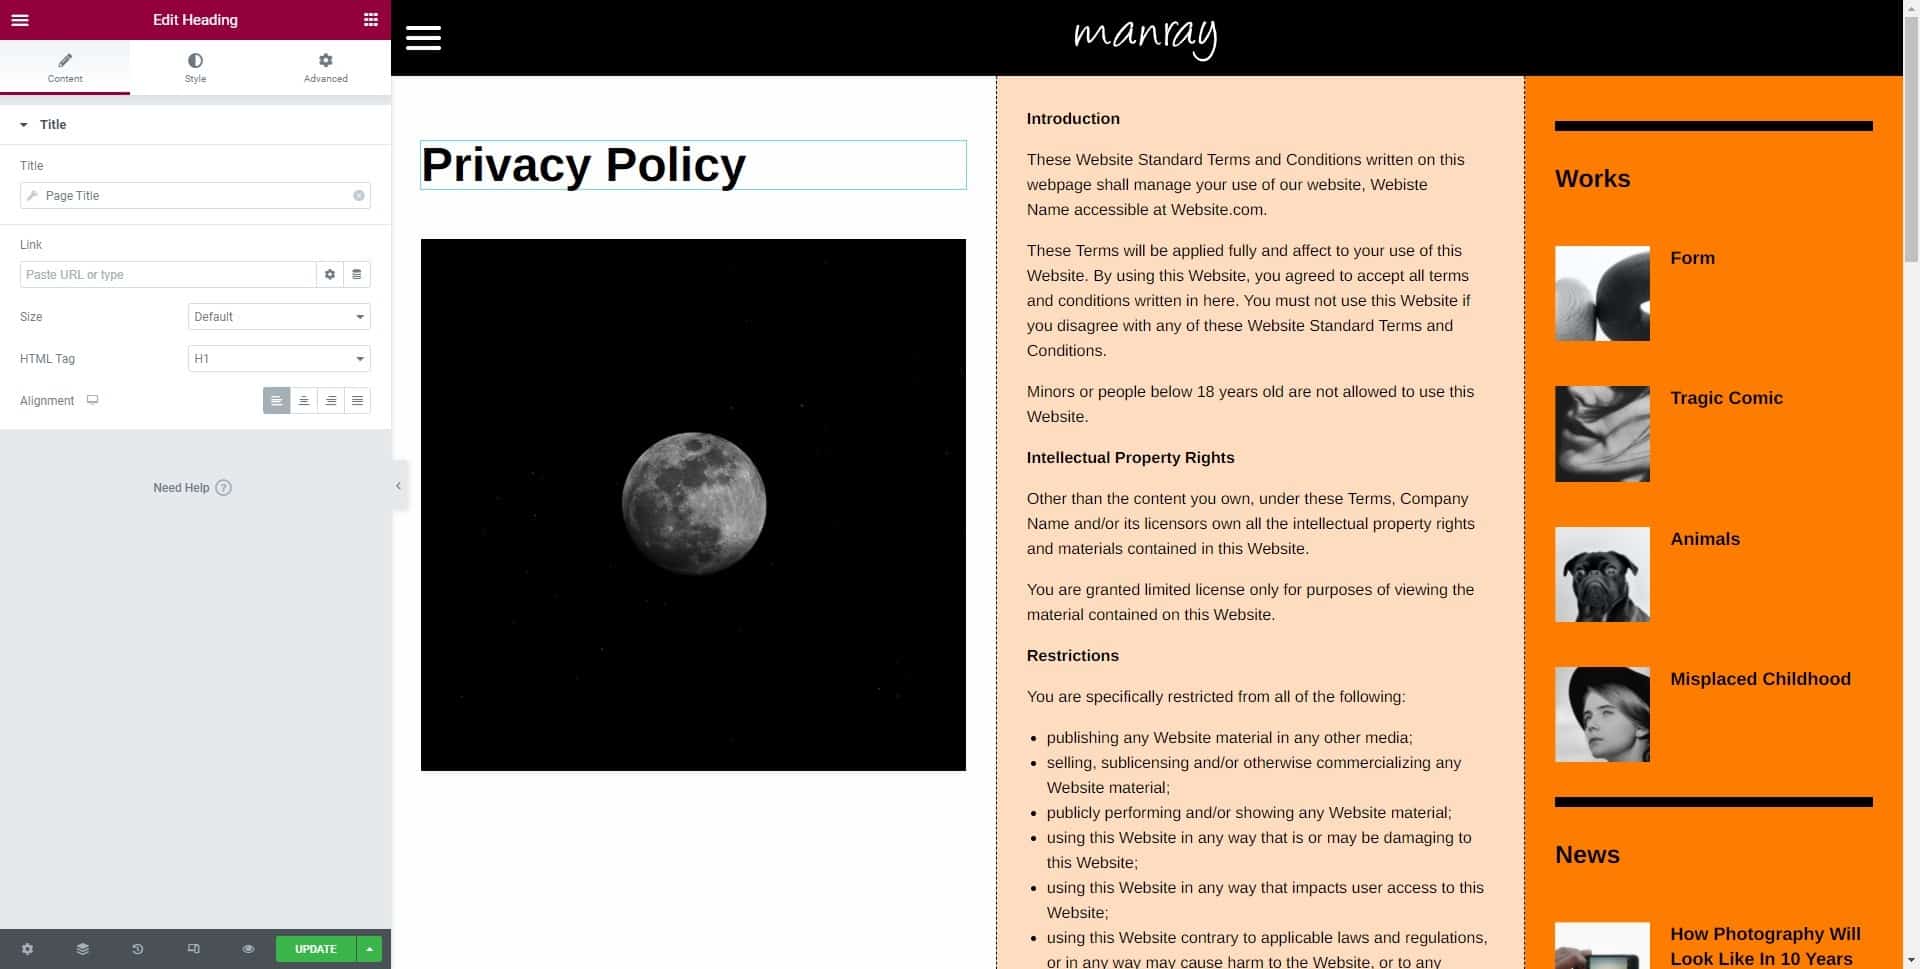
Condition:
Include > Pages > All
Page Not Found Template
A template used for the “404 Not found” page using headings and a random image
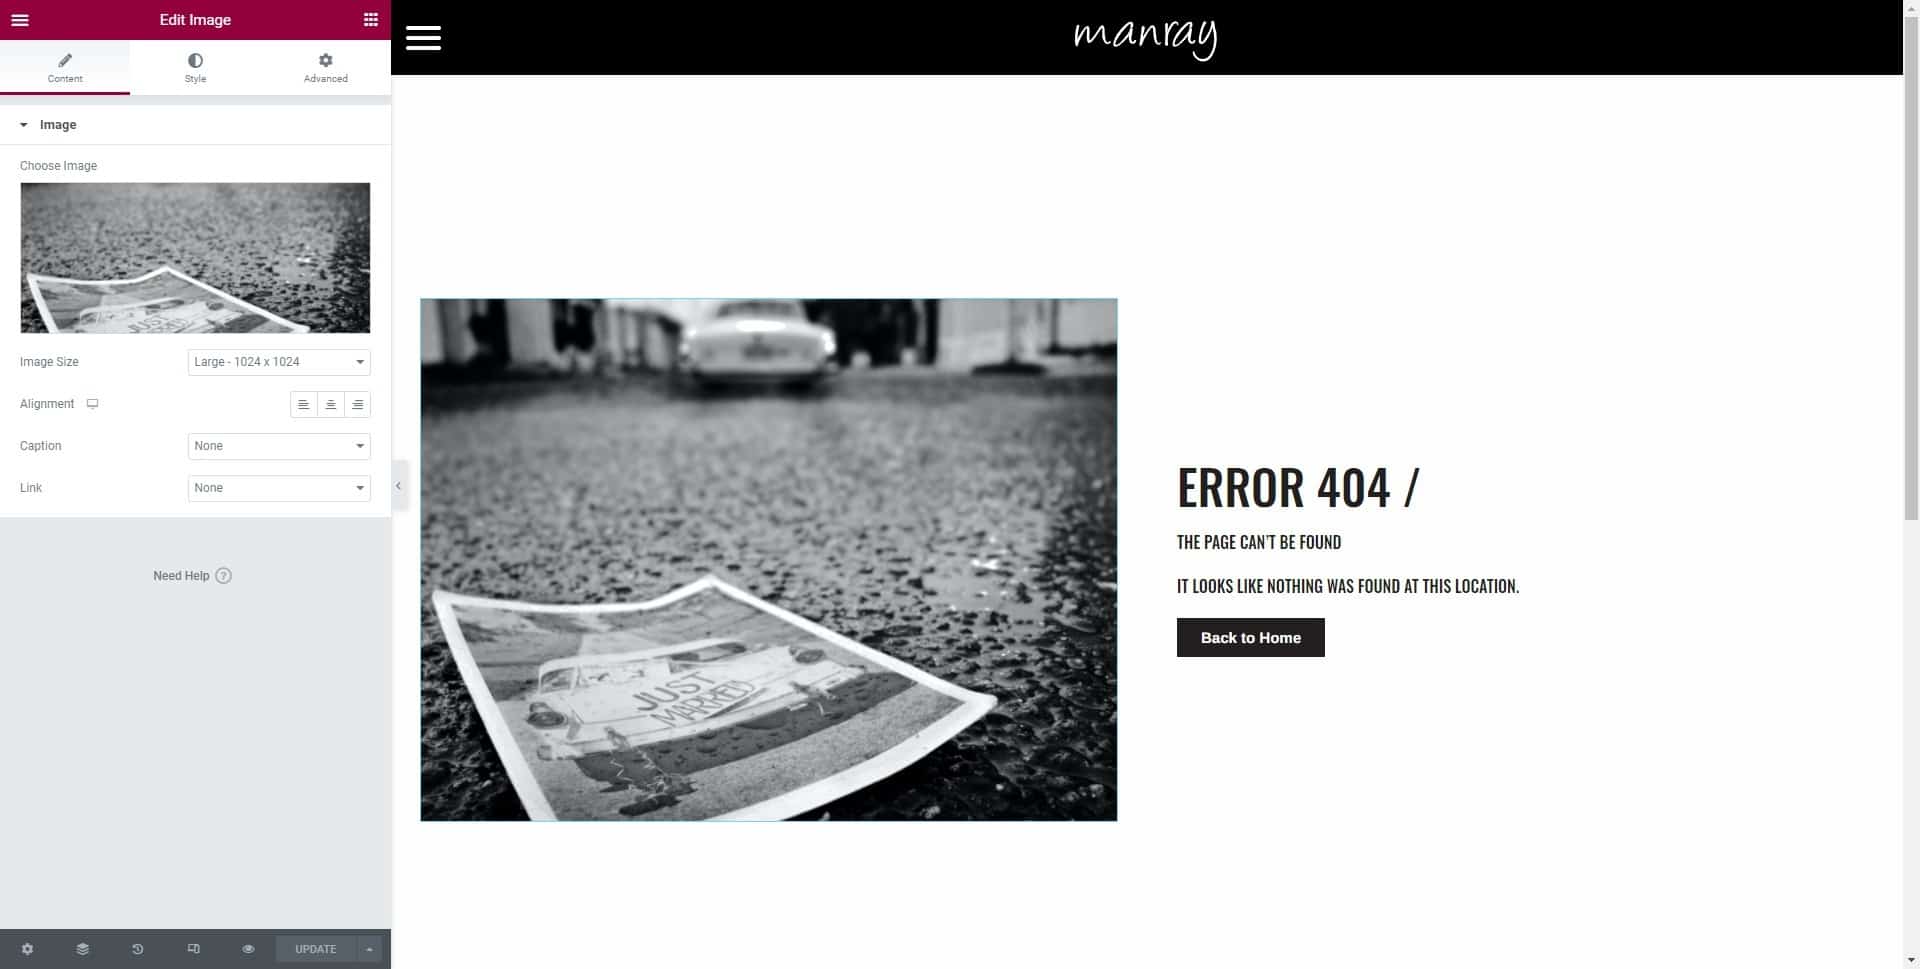
Condition:
Include > 404 Page
Pages
All examples displays the imported demo file with items ready to edit. But you can build your own designs or change the options of every widget used who suits your project.
Home Page and Blog Archive
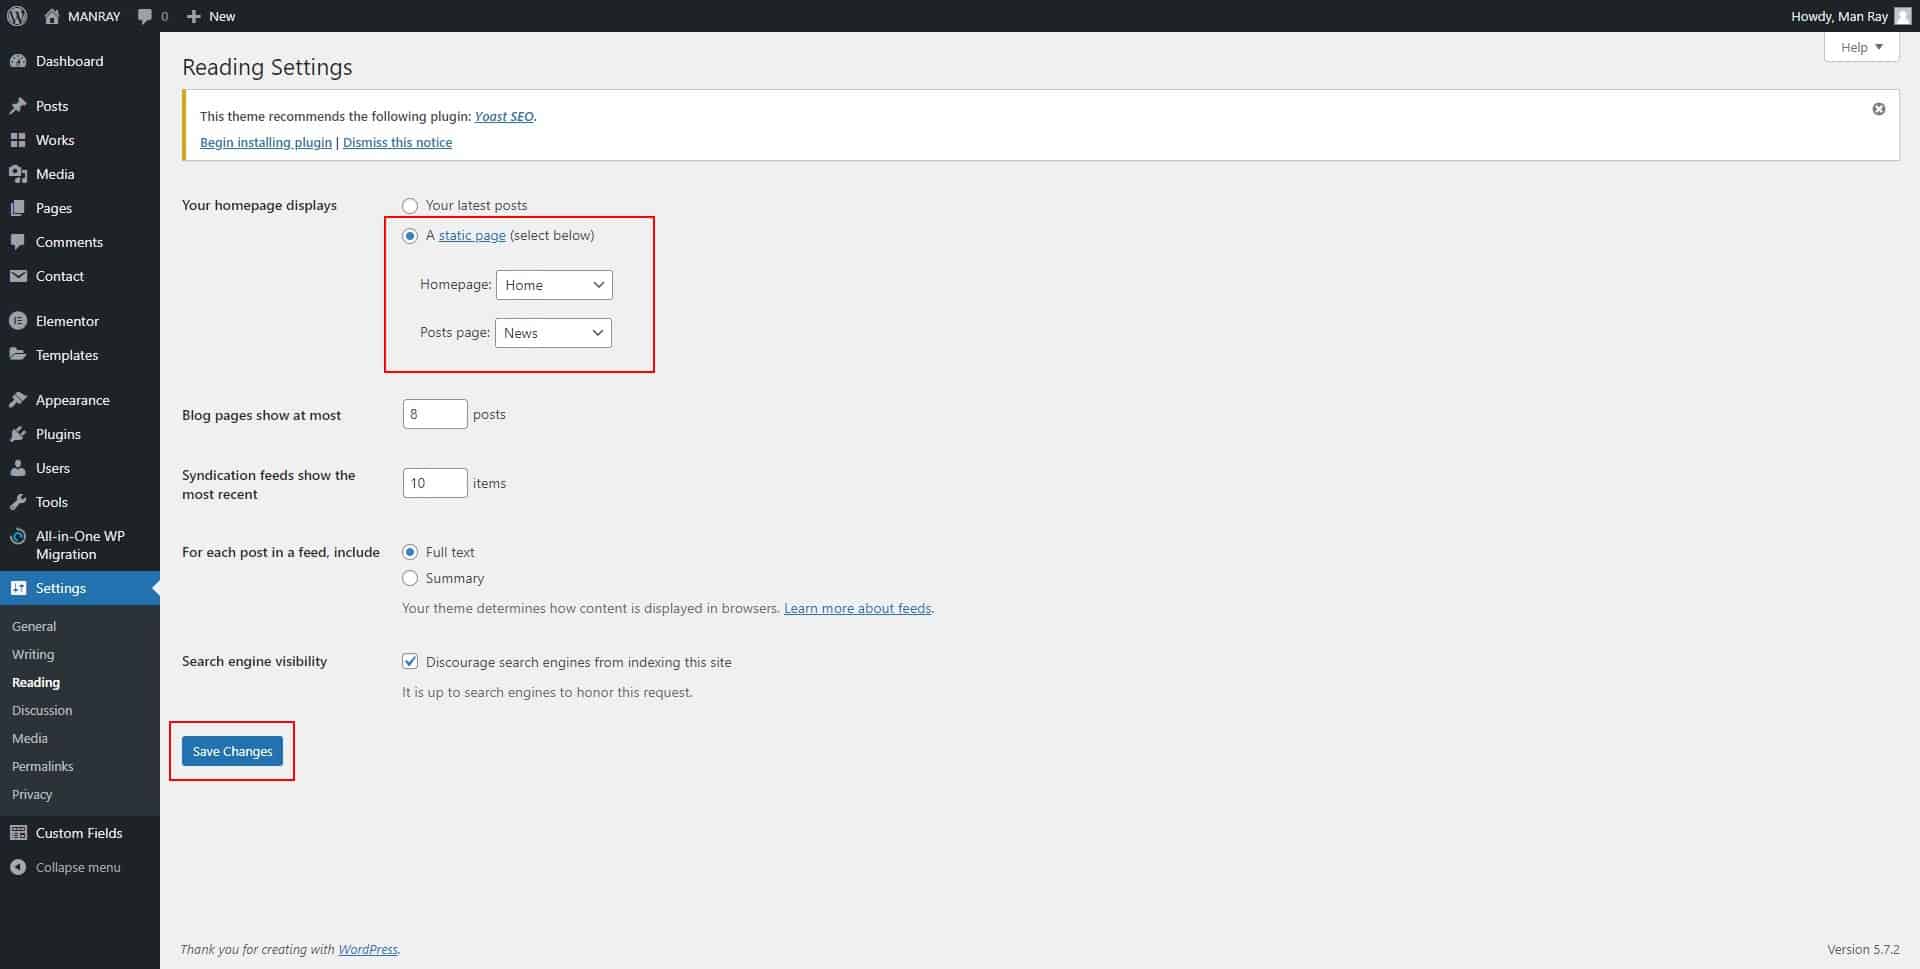
You can assign a page as homepage or archive page.
Go to pages and click add new page to create new page (called for example “Home” and “Blog”)
Go to Settings > Reading and select a static page (select below) option
Assign newly created Home and Blog age and save the changes
Contact Page
This page uses the Form widget, allowing the user for customize the contact form. Recommended practice: use a Recaptcha to add a security layer.
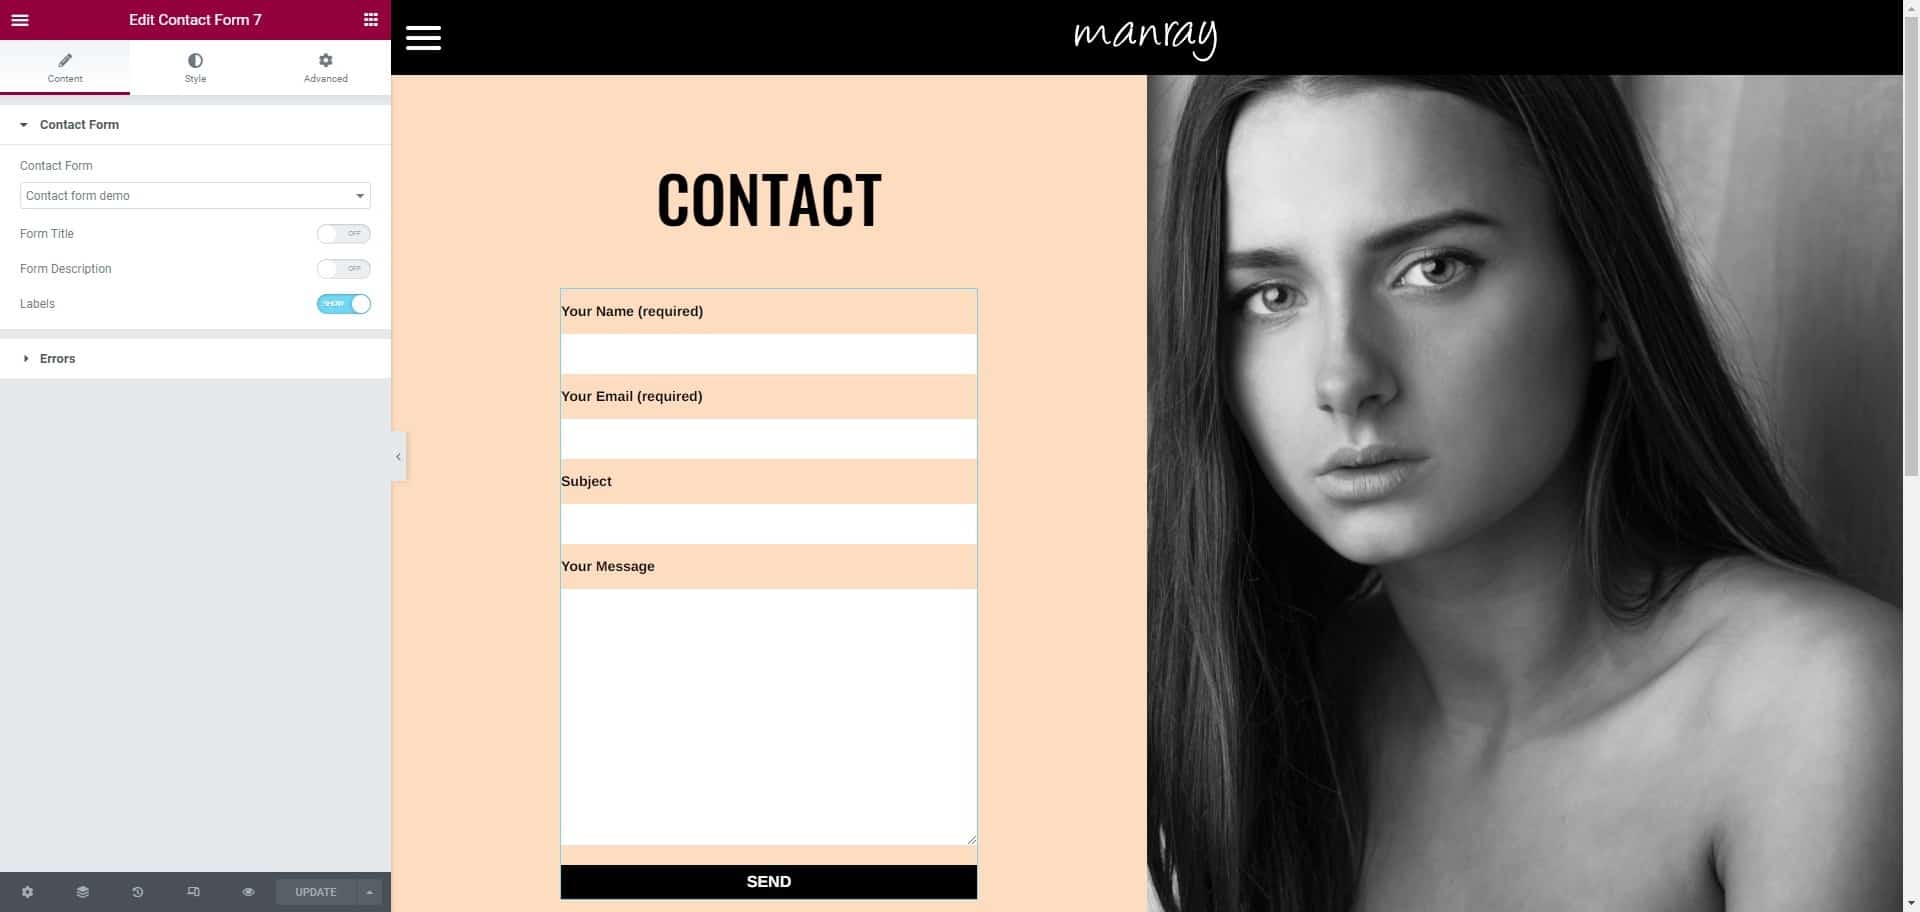
Condition:
Include > Pages > Contact
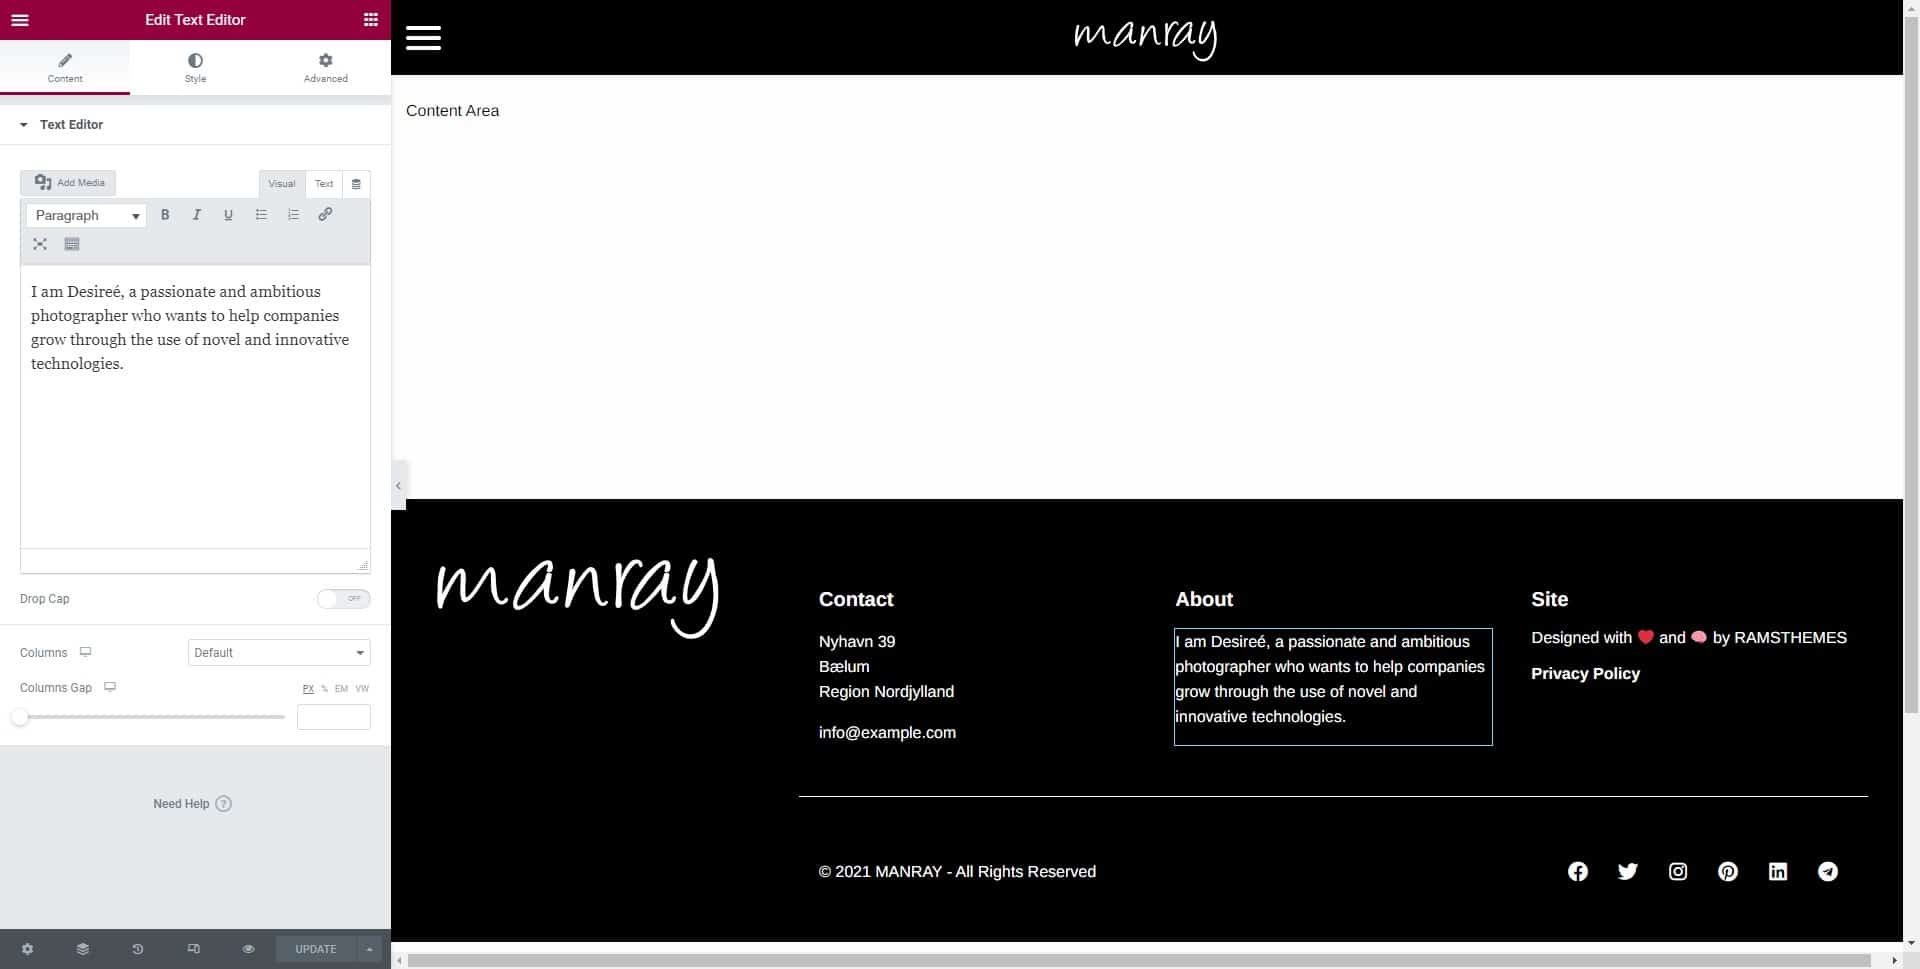
About Page
This page uses image and text widgets to display a “landing page” with a combo information of the services and personal info.
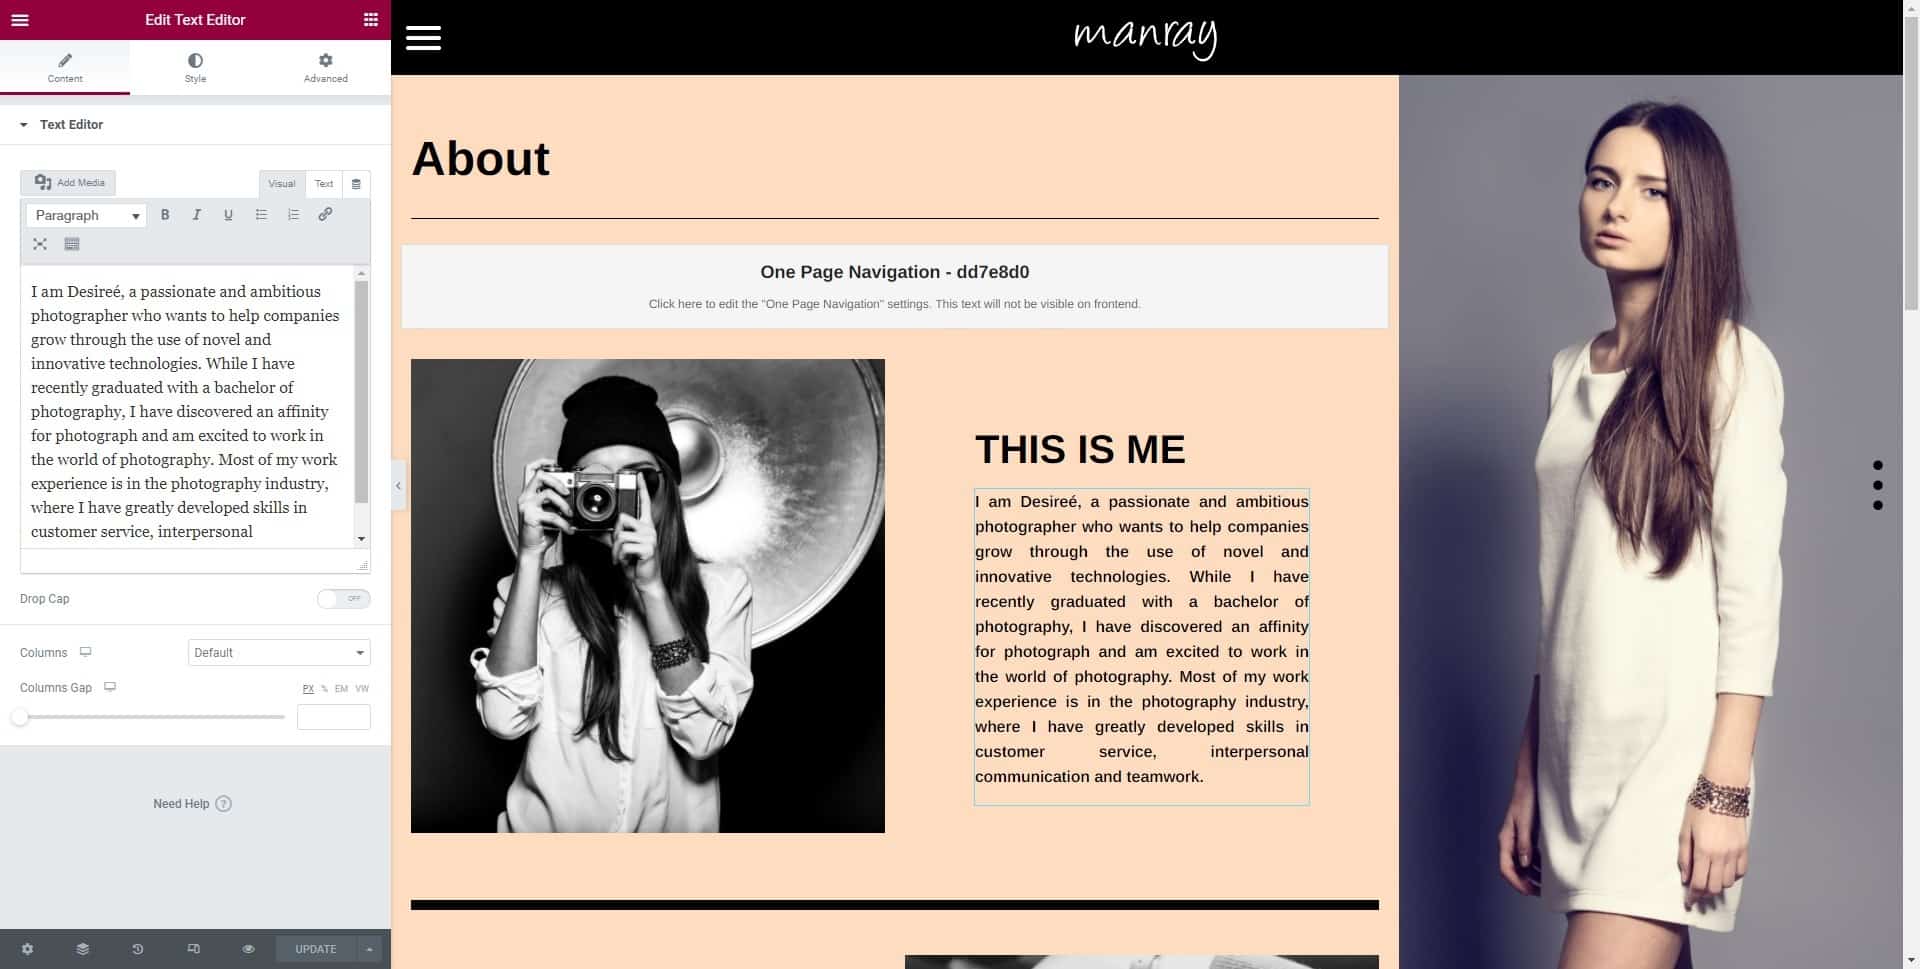
Condition:
Include > Pages > About